The last couple of months
The last couple of months have been amazing and non stop busy , its not always easy to break away from my crazy schedule and find the time to share a little behind the scenes of my most current projects, after my last post went live, I hade a ton of emails and messages asking me to share more about the project I shot for Hi Fly airline follow the link to get caught up, you can’t really read this post without reading that post. So in this post, I am going to dive a little further into the creative and technical aspect of this campaign. One of the major dificultues we had to overcome was the integration of images of the models taken in the studio with stock images or plate images taken by me on location in sunny Portugal, one of the key peaces of the kit to really make a difference was my Outex underwater camera housing.
![]()
First encouter with Outex
I first discovered Outex at last year’s PhotoExpoPlus in New York and it automatically struck me as one of the most interesting pieces of gear at the trade show. After intriguing first conversation with the company’s CEO – JR, I was pretty sure that I needed this as a part of my kit. I have shot underwater in the past, but because of the constant updating of camera systems, like switching from hasselblad to Fuji. I felt it wasn’t worth the investment of upgrading my previous underwater housing which was pigeon held to a specific camera system. One of the first things that really jumped at me from seeing Outex was the possibility of using the same housing with multiple camera brands and models.
My first shoot with Outex
I almost always shoot stills with my medium format Fujifilm GfX50S, the giant files it creates are perfect for this style of composite images. The fact that I can very easily use my medium format in conjunction with my Outex underwater camera housing makes it a really valueable feature of my kit.

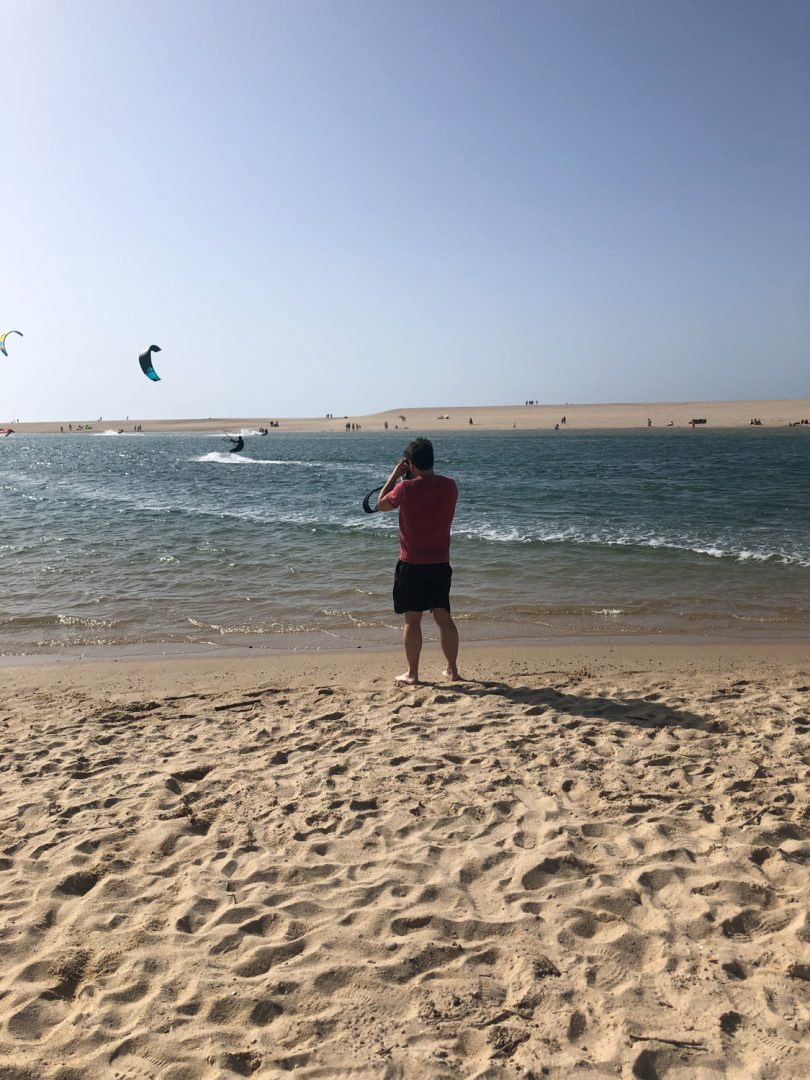
 The objective of this canpaign was to photograph six HiFly Cabin Crew memebers dressed in full uniform having alot of fun whilst, either Boogie Boarding in Bali, Kite Surfing in Europes largest saltwater lagoon, snorkeling in the Maldives, surfing giant waves or sailing blue oceans, all this with huge smiles all around and with the purpose of sharing awareness, HiFly leads the change in the airline industry becoming the first airline to be single-use plastic-free by the end of 2019.
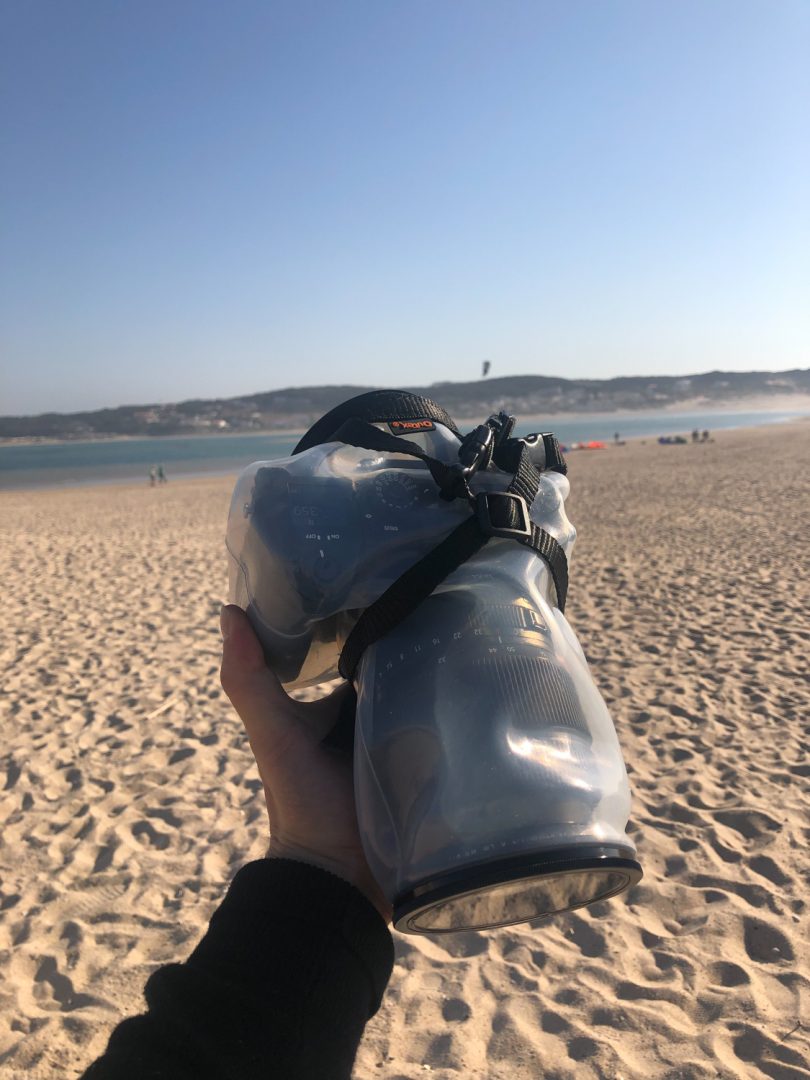
 Something that I found out by trying it out is that my GFX50S fits inside the Outex housing with an attached Profoto Conncet flash trigger to it. This alone expands the possibilities of the Outex system by so much.
Product Description:
Waterproof any camera with professional results. The Outex Pro Kit works with ALL Mirrorless, DSLR, Canon, Nikon, Sony cameras and more! Trust the best underwater camera housing used by professionals around the world. Take your camera in the water, wind, sand, snow, or mud. Lightweight, strong, and durable. Fits in your gear bags for easy airline, backpacking, kayaking, hiking, or however you travel.
What ships with your kit:
-
Outex cover
-
Front glass
-
Rear glass with attachment
-
Strap Holder
-
Neck Strap
-
Wrist Strap
Pro Kit Features:
-
Works with virtually all cameras
-
Front & Rear glass optics for professional results
-
Complete access and control of all camera and lens functions
-
Upgradeable to all Outex add-ons, such as tripods, tethering, lighting, etc.
-
Waterproof to 10 meters/33 feet underwater
Available Add-ons:
- Dome kit
- Pistol grip
- Wrist strap
- Tripod cover
- Data cover

Critical Components of Installation:
1. Cover lip is evenly distributed around the base of the inner flange of the Outex glass rings – around the base of the circumference.


2. Apply the L-shaped middle O-ring facing the right direction. The O-Ring acts as the “female” match to the Cover lip’s “male”. So the O-Ring opening faces downward towards the cover, creating the seal.

 3. When threading/tightening the seal with the outer ring, create the pressure on the Outex parts, not the camera or lens. For example, on the front glass, one hand should hold the inner (inside the cover portion attached to the lens) portion of the flange, and the other hand should be holding the outer ring that threads onto it. This way you are applying pressure onto the seal, and not to the lens itself. The same applies on all/any of the Outex seals.
 4. Always conduct the water test in a sink, tub, bucket, pool, or similar calm body of water if you’re submerging the camera for use. This will confirm that your installation is correct. If you see continuous escaping air bubbles, repeat the sealing around the affected area (steps 1-3).

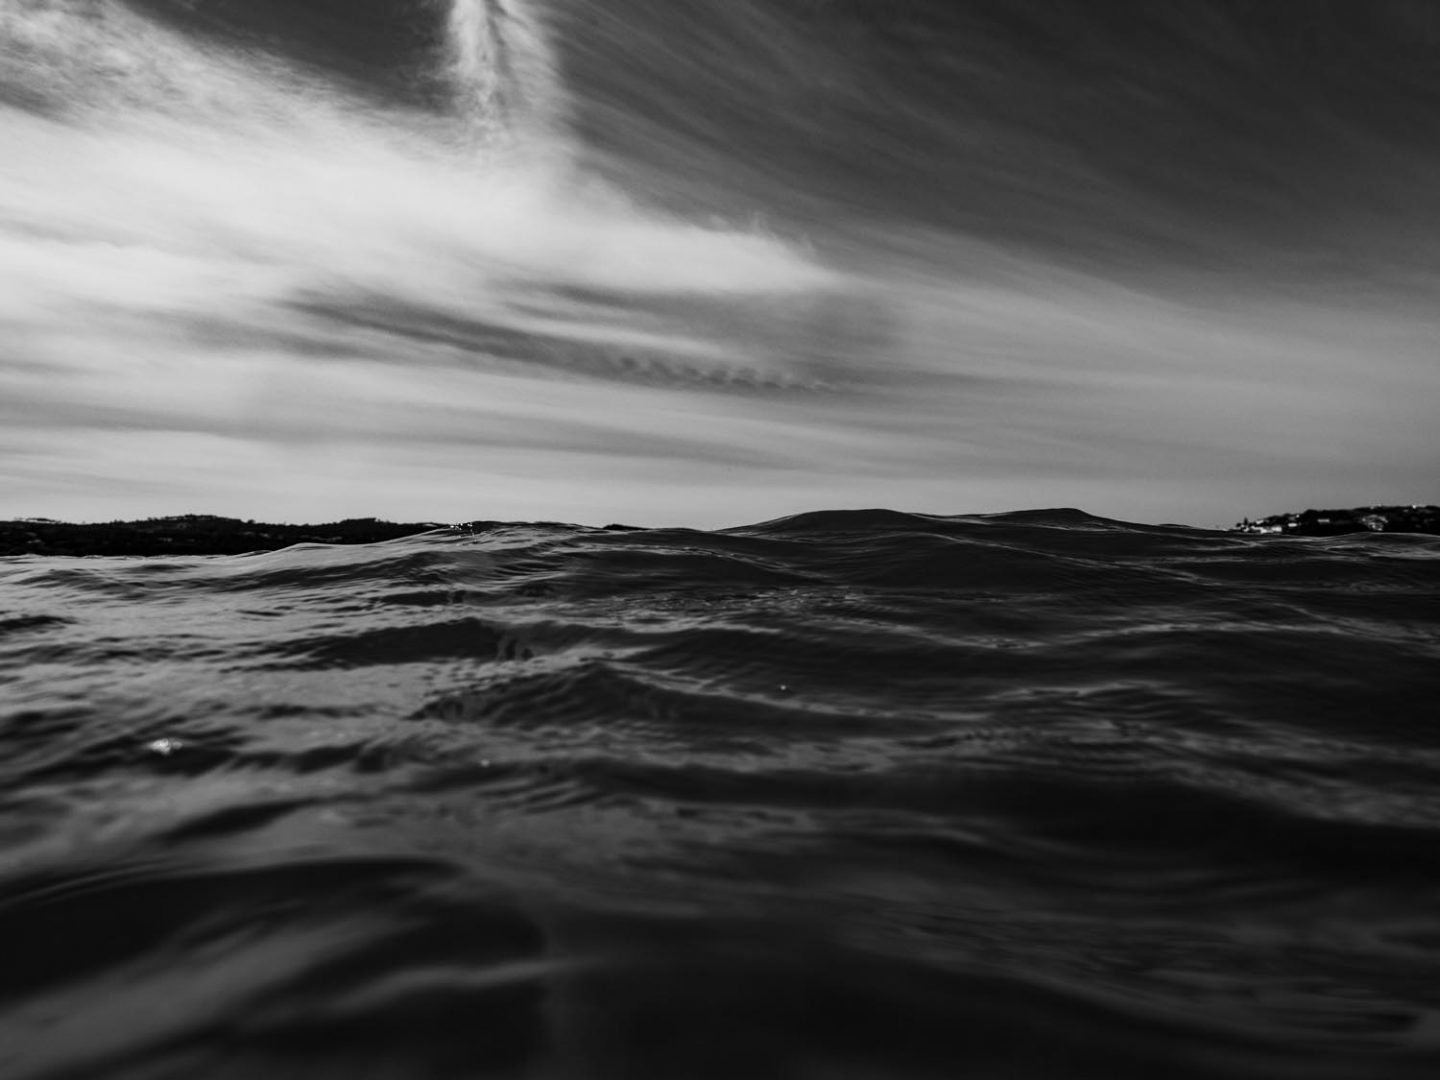
We have added some of my favorite images in the post that I really like hte overall look and feel of.


GEAR LIST
Fujifilm GFX 50S
FUJINON LENS GF32-64mmF4 R LM WR;
Outex Pro Kit;
Sandisk SD Cards;
ThinkTank Naked Shapeshifter 17 V2.0;
ThinkTank-SKB Hard Case;
G-DRIVE Mobile SSD;
G-DRIVE ev ATC HDD.
I would like to say an enormous Thank You to Diogo Dabadie and the rest of the crew from Escola de Vela da Lagoa de Obidos for all of there assistants and support in craeting th images above and another big thanks to the team over at Outex.
