
This is the first part in a two part series of “What’s In My Bag”.
I will start by giving a revue on my camera bag. The Kata Pro-Light Bug-205 PL is a bag designed for professionals or photo enthusiasts who have a lot of equipment. It’s designed to provide quick access to your main DSLR, is lightweight and protective and it caters to the smallest detail of a professional’s working needs. It’s a fairly new product that was announced by Kata this past October at Photokina and Kata was kind enough to provide a sample of the Bug-205 PL for me to do a full review. I received my Bug in December and since then I have done some traveling and have been really able to test out the bag properly. Kata is one of my favorite manufacturers because of their overall quality and attention to detail in their designs.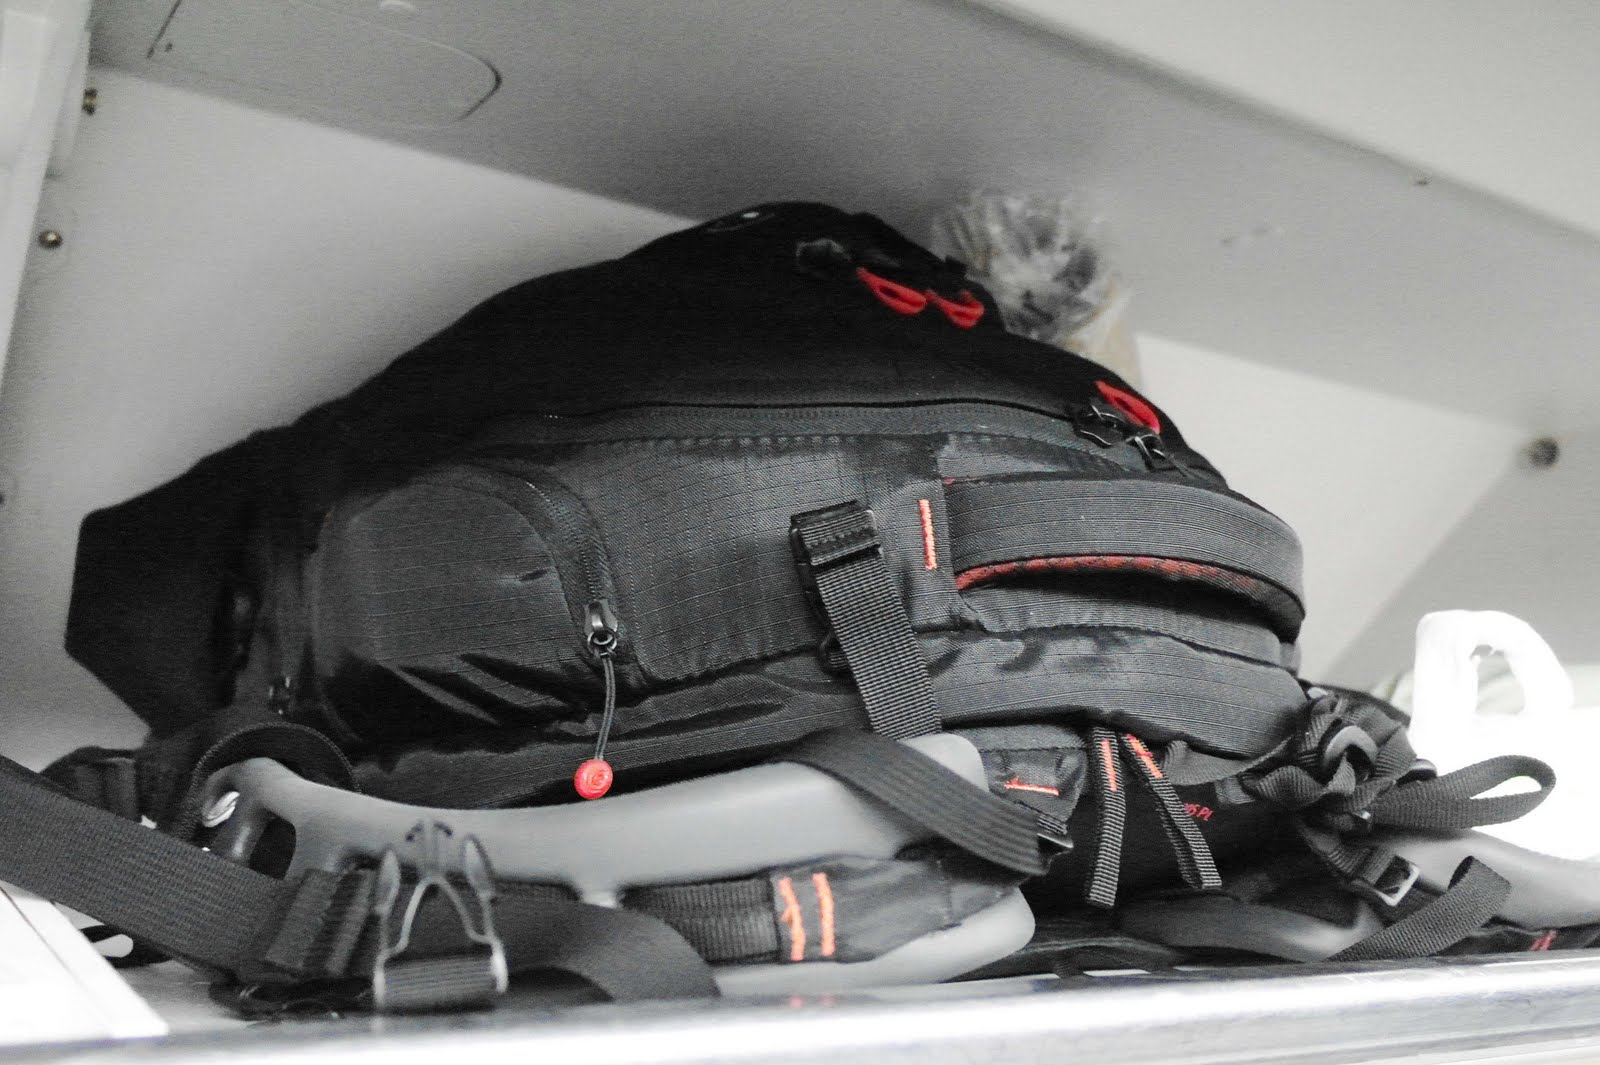
Perfect size for airplane over-head bins.
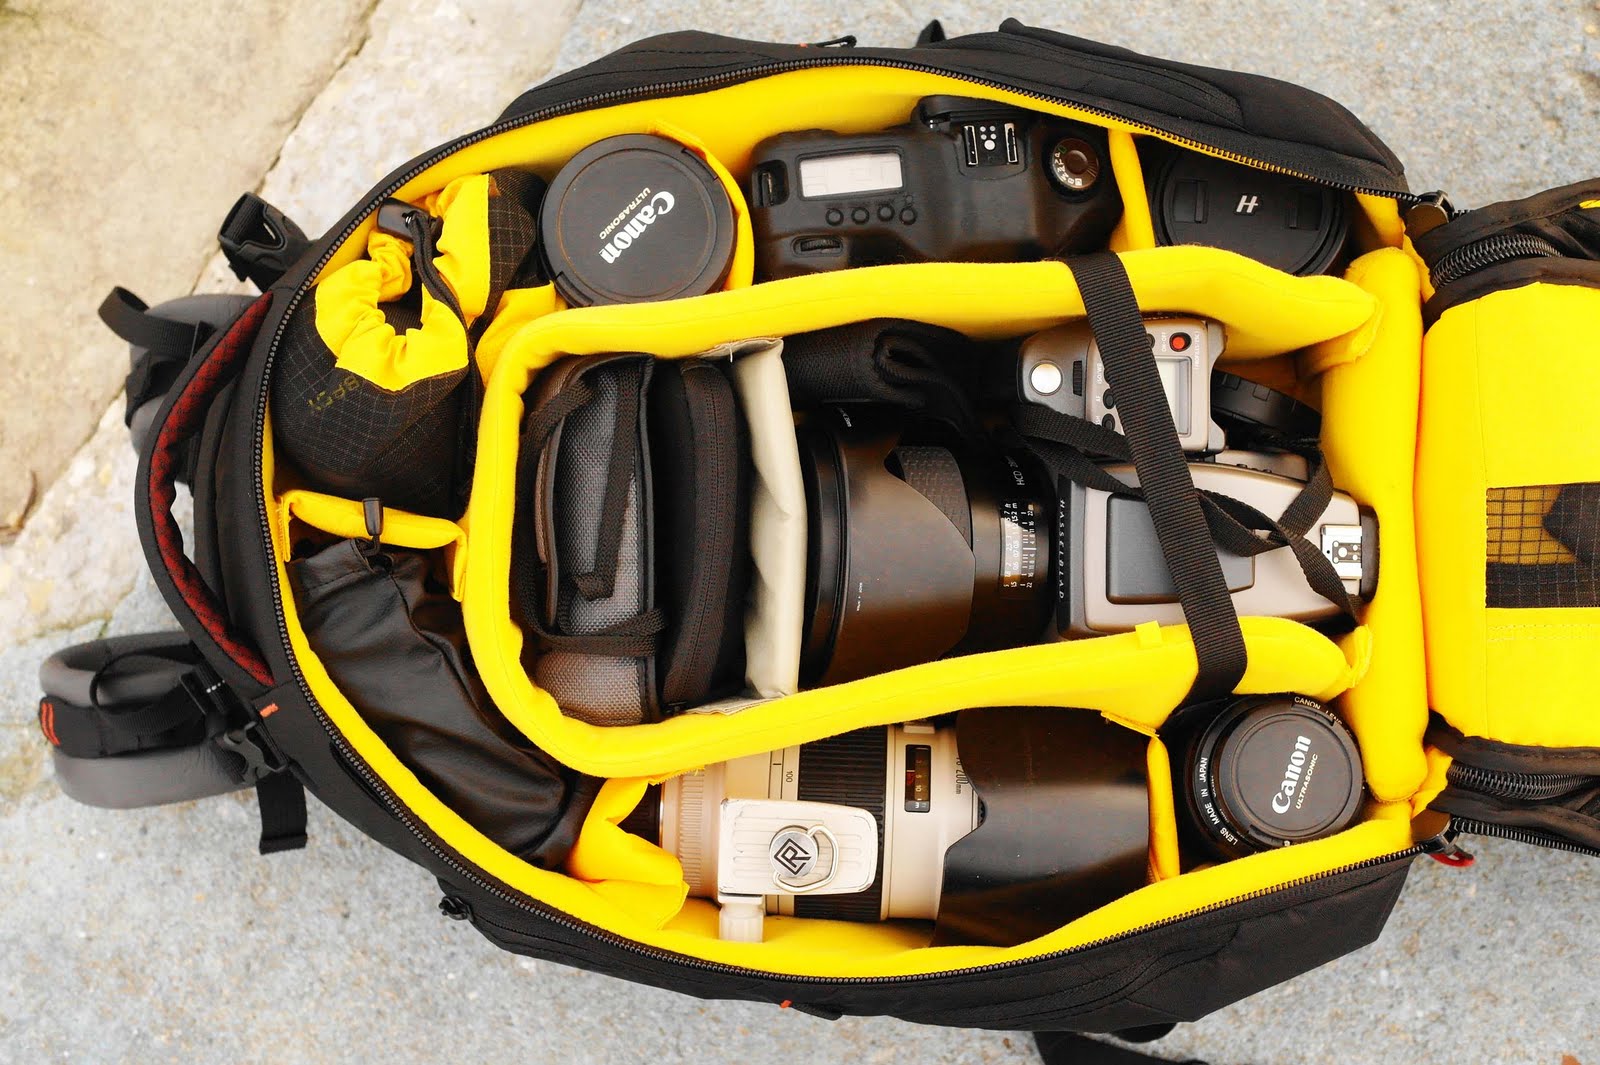
I mentioned the bag is designed for the serious photographer who has a need to carry a large amount of equipment, It’s a large backpack design with a single main compartment that is divided by a u-shaped divider. The divider creates a well protected camera chamber in the middle and a u-shaped chamber that can be subdivided further around the outside edge.
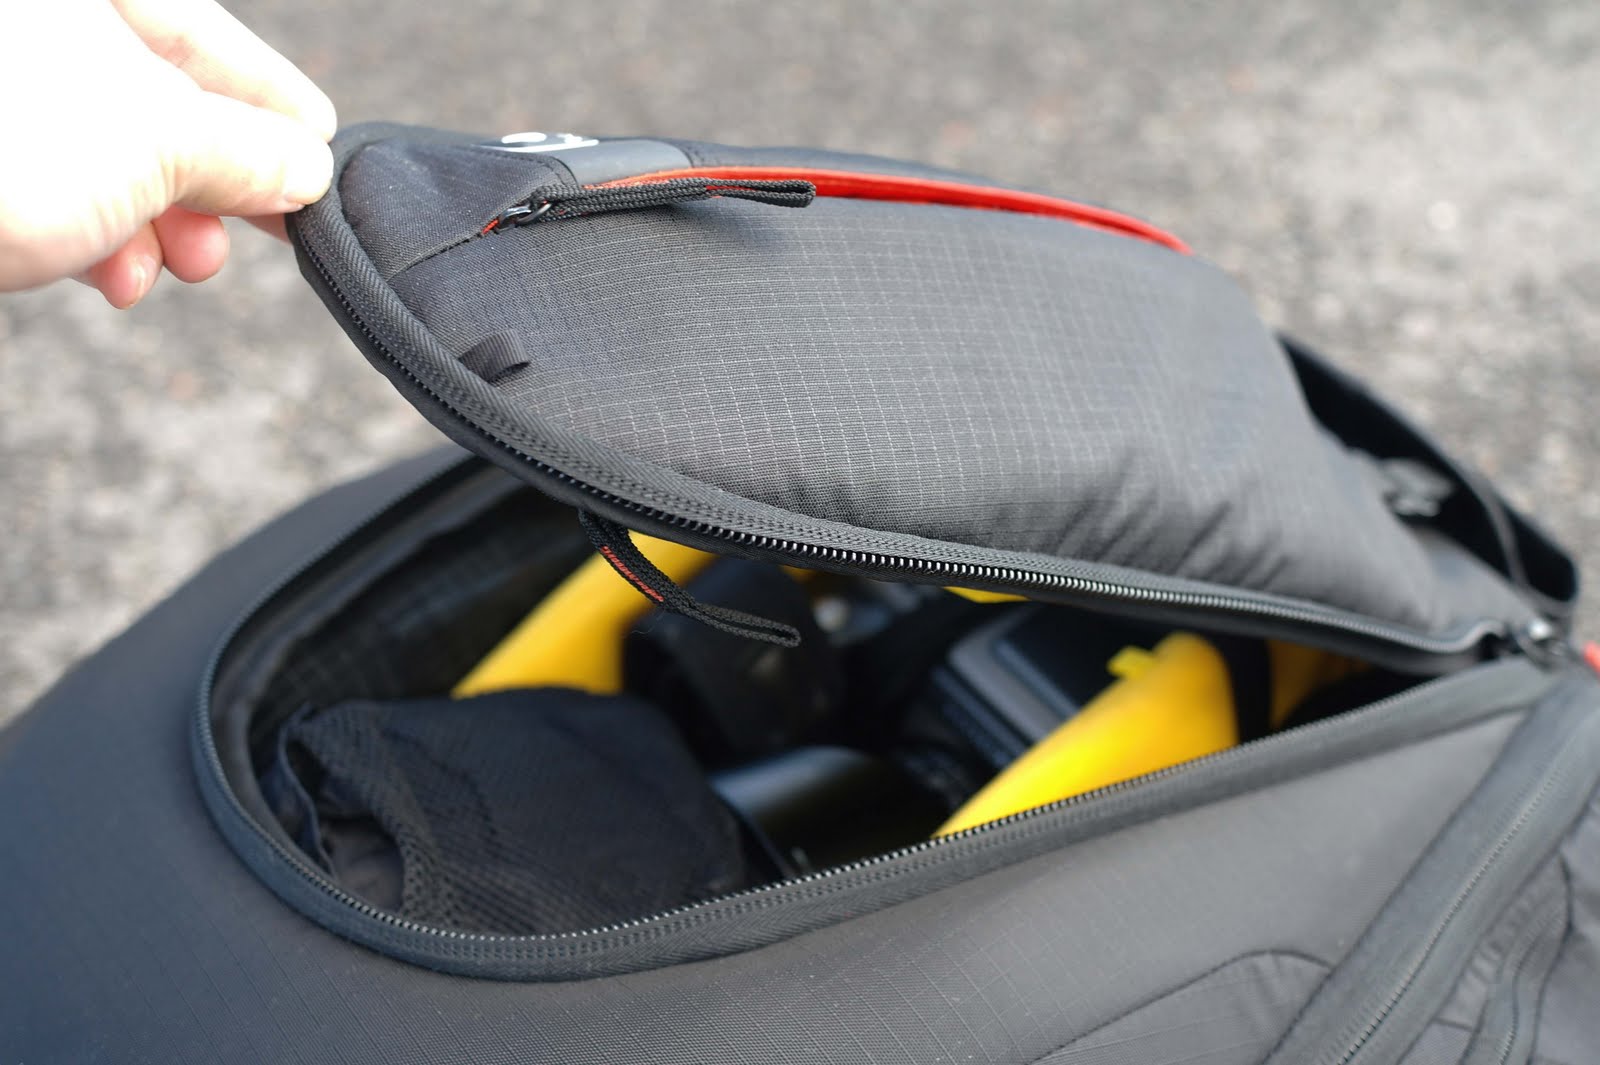
It’s large zip-open flap extends edge-to-edge to provide full access to the main compartment, since the main flap is a dual-zipper and due to the arrangement of the interior pockets, you will find that you can also access just one side of the bag without disturbing the contents of the other areas of the bag. I’m not sure if this was design intentional but it’s a plus all the same, but if you just need to access your camera, inside the main flap is a smaller zip-open portal flap to give you access to the camera chamber. Specially formed foam encased spring steel spine guard run down the front of the bag for ultimate structural protection.
.
The entire inside of the bag is made of a flannel-like material which is velcro-ready. This allows a lot of flexibility when choosing your divider positions and placement of your accessories. The bag also comes with two drawstring mesh bags that have velcro on their bottoms which can be used to organize your smaller items, these can be affixed anywhere inside the bag as well., as is the case with nearly all Kata bags, the interior is a bright yellow – a trademark that makes it easier to find small items that might get lost.
The camera chamber is designed to fit a camera with mounted lens, body sits at the bottom with the lens pointed upward. It has high padded walls and a velcro strap provided to help hold the camera in place until you need to grab it. It’s a perfect fit for my Hasselbald H4D and 28 mm lens, also provided with the bag is a lens pillow which has velcro that affixes to the back of the bag, you can place this just under the point where the lens mounts to your camera to increase stability while moving about. I have to give a big hi five to the brains behind the bean bag as the pillow – as simple as it is – is a nice accessory.
In addition to the main chamber, there is also a zippered laptop compartment and a laptop sleeve. The latter is sleeve-like pocket that is built into the back-plate between the shoulder straps’ fastening point and the padding for your back. My 15 inch mac book pro is a perfect fit with easy access in and out of the bag , note that this pocket is otherwise open to the elements, so I wouldn’t recommend sticking a bare laptop in this pocket (which is probably why Kata sells an accessory laptop sleeve for this bag.

Zippered laptop compartment perfect for my 15 inch mac book pro, cables, charger and external HD.
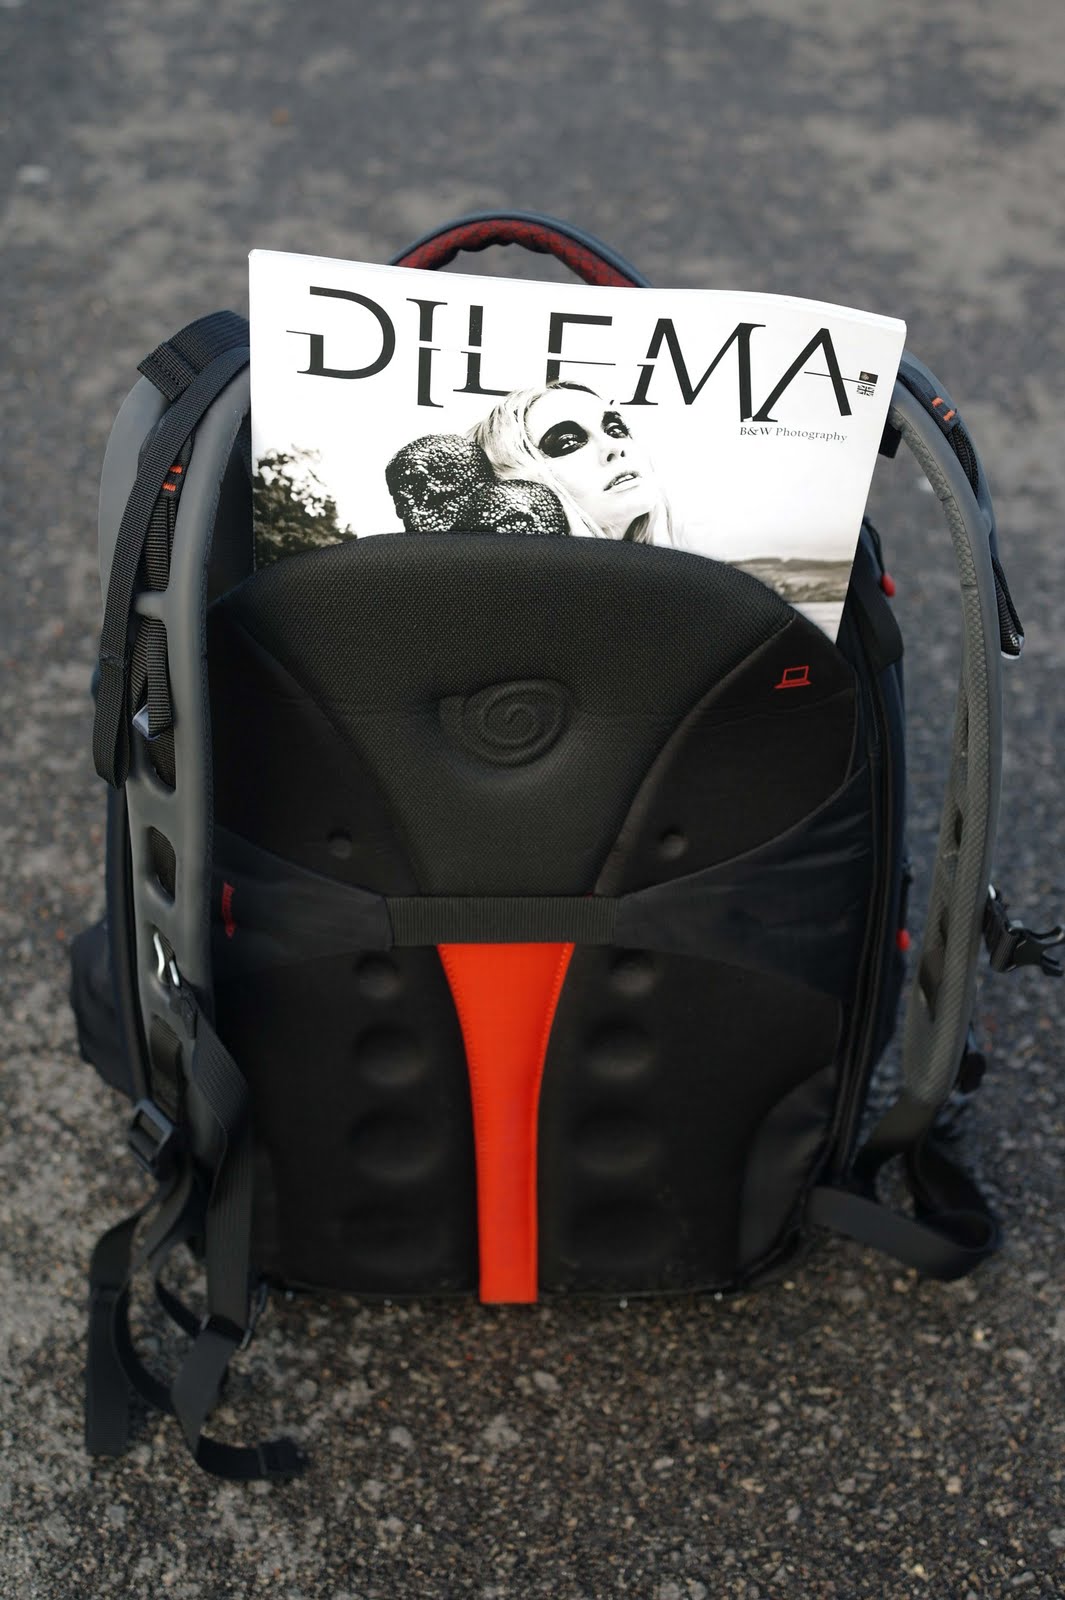
Sleeve-like pocket perfect for computer or in my case it fits the extra big Dilema Magazine (15 inch) with tons of room to spare.
The pocket is closed by a zipper and two clips. But there is a protective flap over top of the zipper for elements protection that sometimes gets in the way. The zipper and the flap are U-shaped to follow the contour of the bag, some may think its complicated to get to, I personally did not have problems with it. I prefer a snug fit if it means my gear is better protected from the the elements. 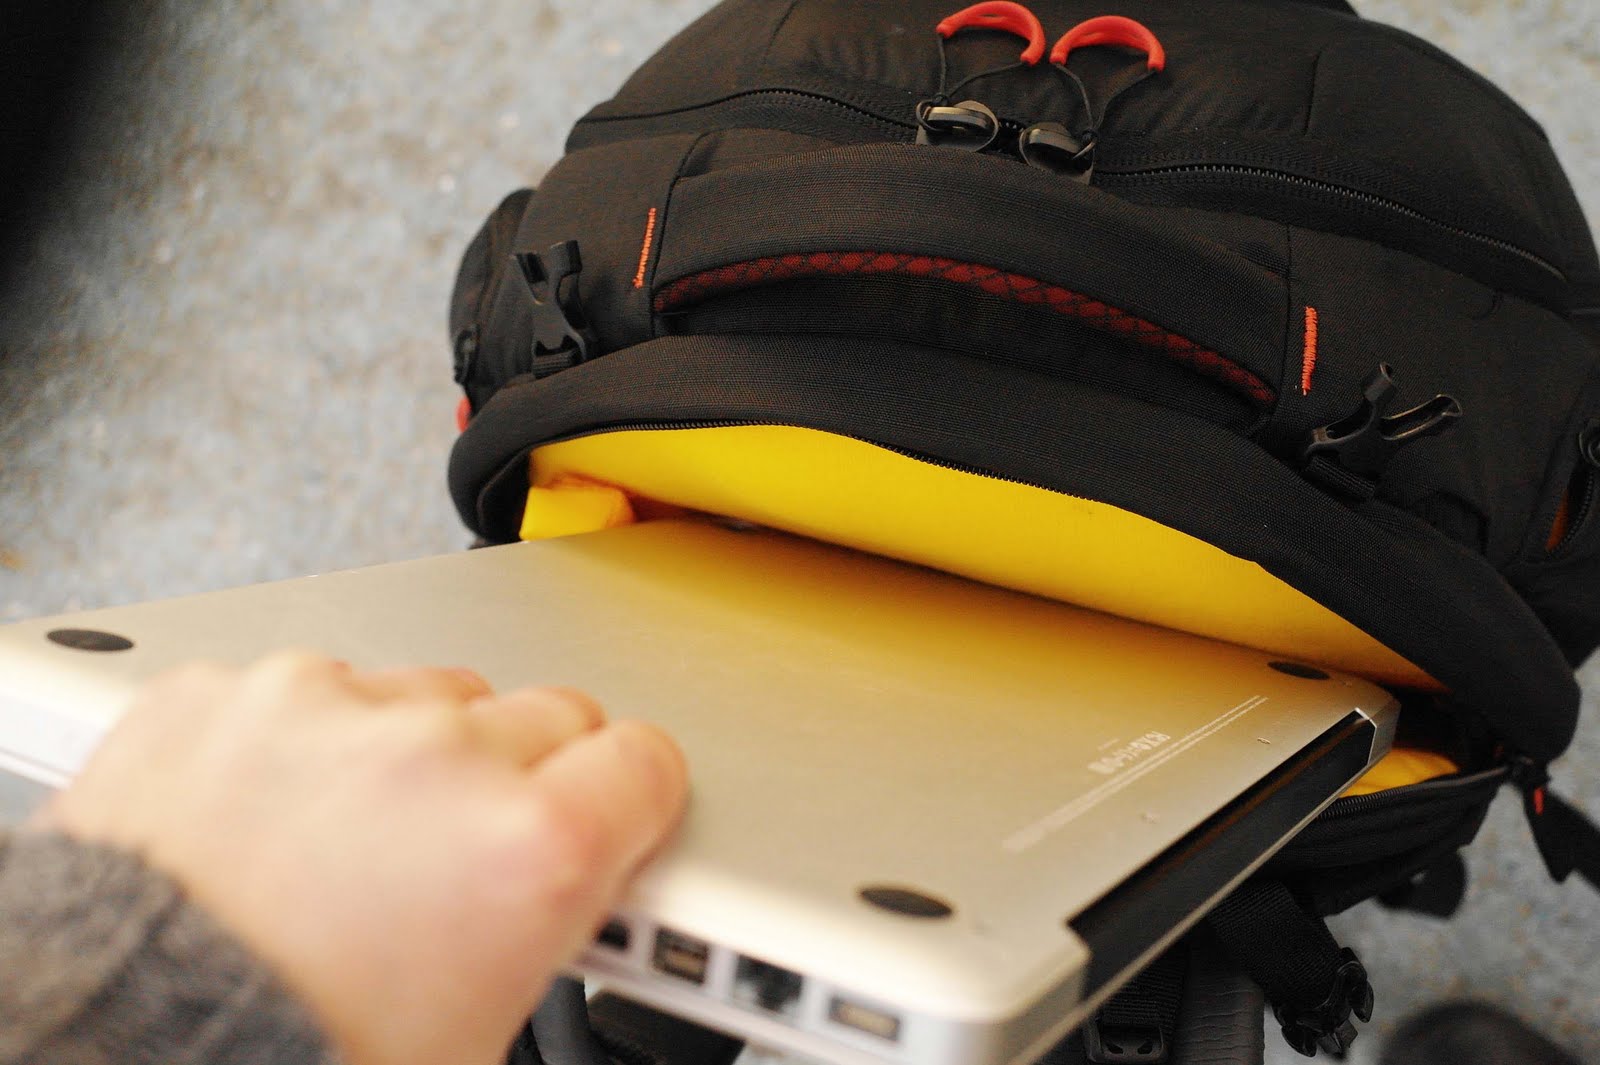
Kata Bug-205 PL: Interior/Exterior Pockets
There are a host of different pockets all throughout the bag – both on the outside and on the inside – that serves well for carrying a lot of smaller items. Each side of the backpack has two zippered pockets, larger below and a narrower one up top, where one can carry small pocket journals, pens, business cards or extra accessories. Inside, there are three oblong pockets – two on the outer edges of the main flap, and one filling the smaller flap, these are great places to stash cleaning kits, storage media cards or other mid-sized accessories.
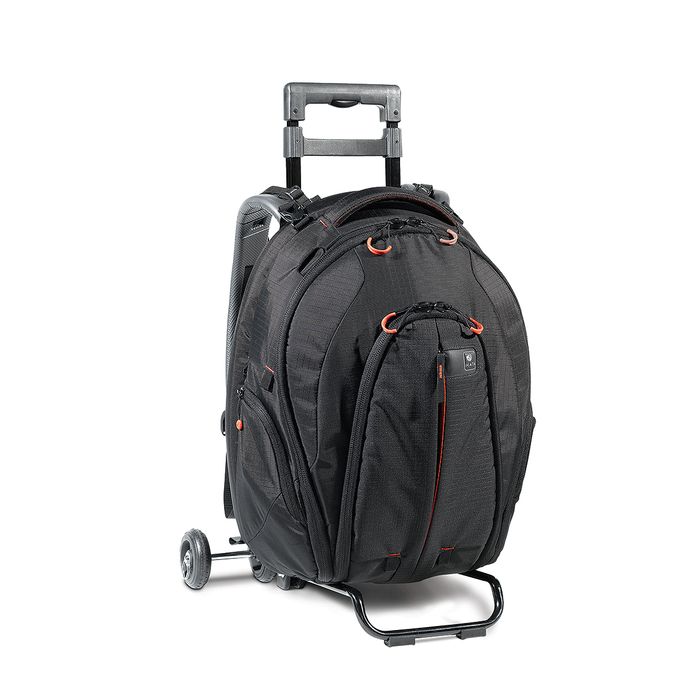
Kata Bug-205 PL: Tow Strap and Zippers
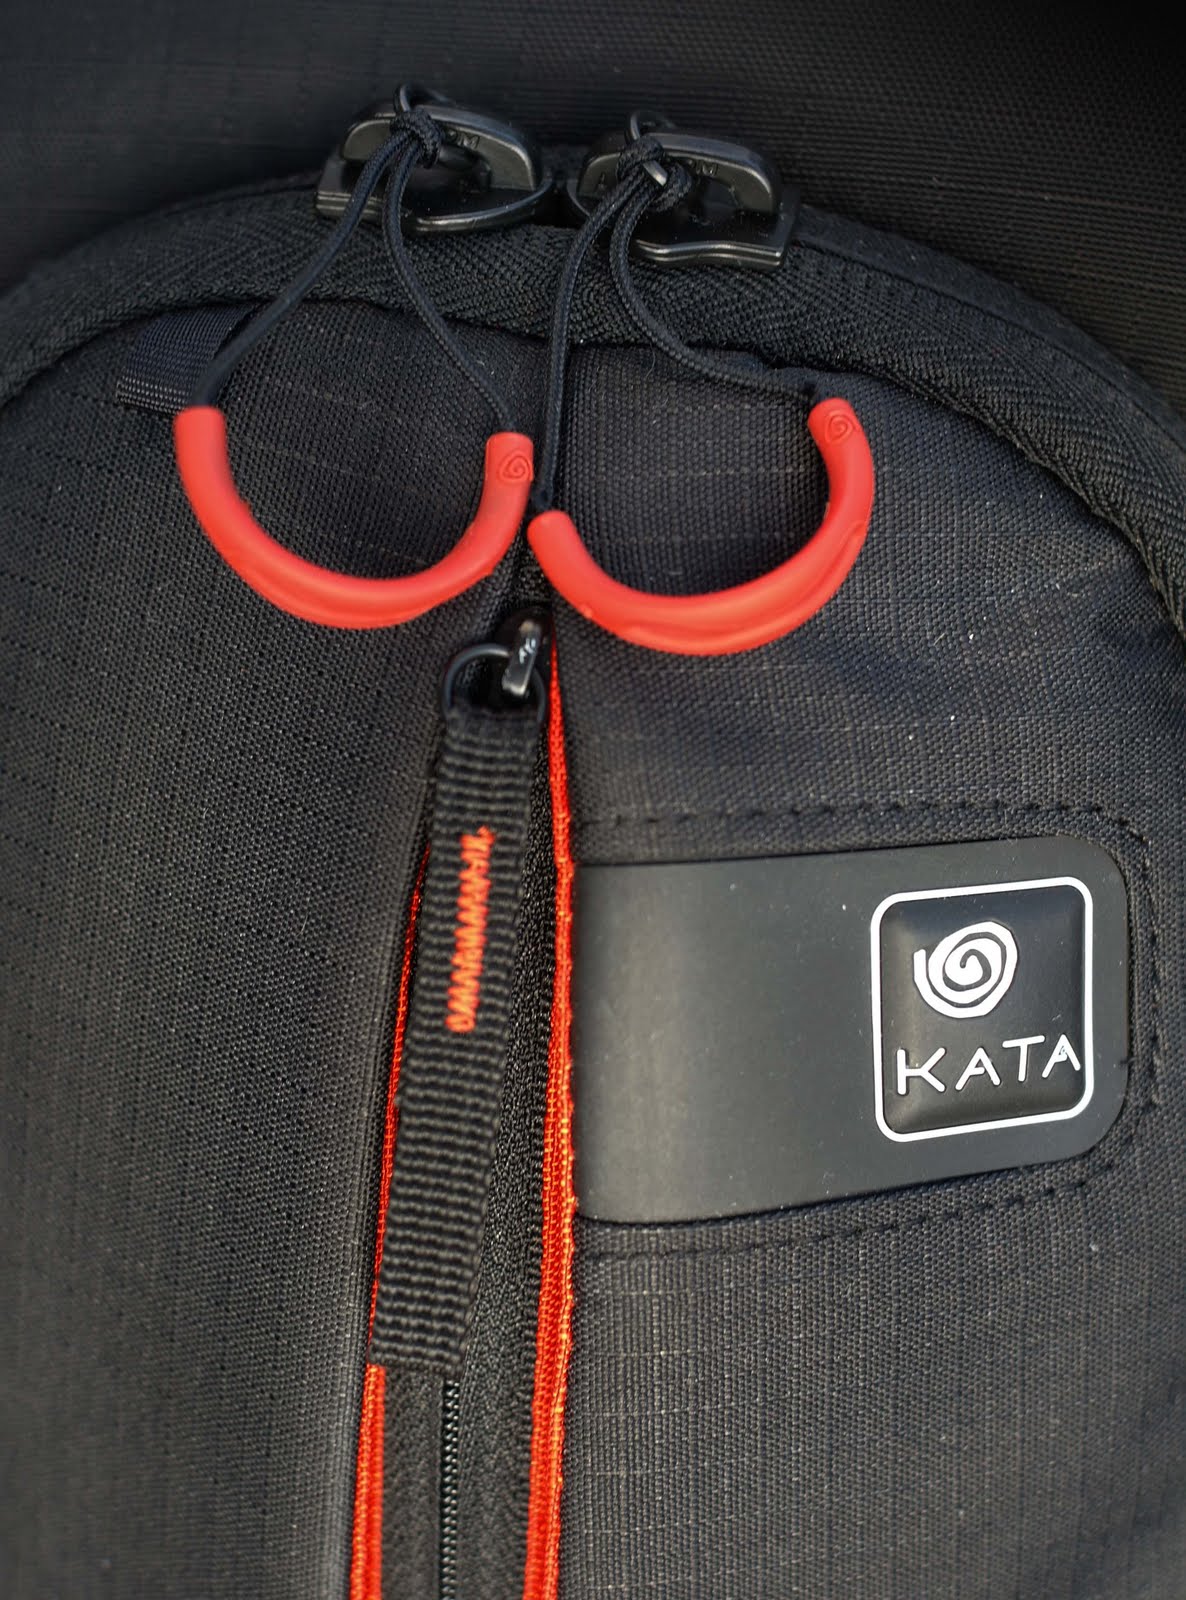
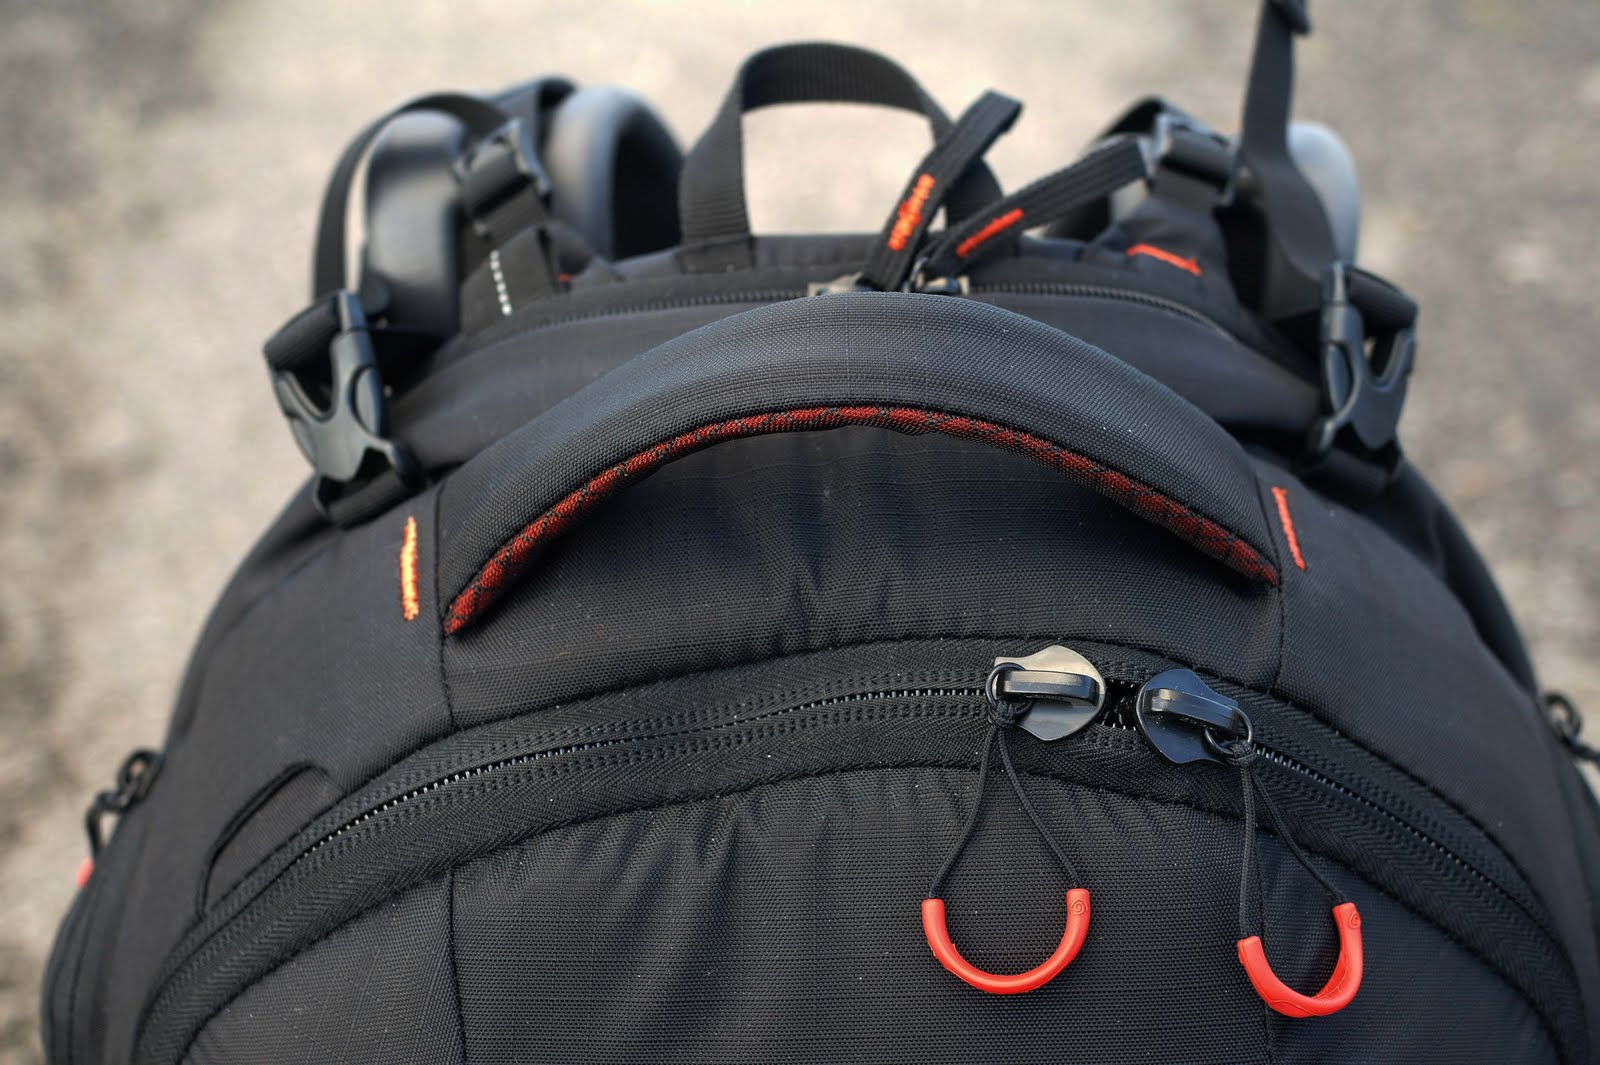
Kata pays close attention to details. I already discussed the characteristic yellow lining, but there are also a number of interesting details that I’d like to point out as well, like the carrying strap at the top of the bag. It’s inevitable that you will, on many occasions, need to carry the bag by something other than its shoulder straps. The Bug’s strap is comfortable and easy to grasp . I also really liked the zipper pulls ( parachute style ) on the main compartment flaps. They are essentially a large loop of webbing with a rubberized bend, I found them easy to use, and finally there is a lateral strap that goes across the back plate where the handles of a hand trolley or a roll-about suitcase can be inserted for easy transport while carrying this in addition to other bags around the airport, hotel or otherwise. The Bug is a perfect size for airplane overheads, since I travel so much this is critical.
Kata Bug-205 PL: Gecko Shoulder Straps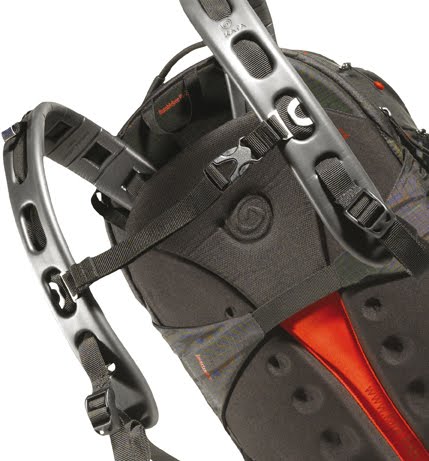
The Bug-205 PL features Kata’s new style of shoulder strap, the fully adjustable Gecko Harness system. The tops of the straps actually fasten to the bag at a point a quarter of the way down the back of the bag, at the very top of the bag are adjustable straps that fasten the midpoint of each strap to the top edge of the bag. This allows you to adjust the shape of the strap to fit your shoulder, but also allows you to adjust the angle of the bag relative to your back. It’s a little complicated to adjust, but after you get it set, it makes a huge difference in terms of comfort. There is also a chest strap that helps to stabilize the shoulder straps for extra comfort. While the chest strap is fully adjustable. (it can be placed at a number of points on the shoulder straps and it’s laterally adjustable).
A fully-adjustable waist belt is included with the backpack as well, It is held in place with removable clips, which is a bonus as many of you will choose not to use the waist belt. The belt will certainly serve it’s purpose to help stabilize the bag on tougher terrain or longer treks but it lacks the padding that would be necessary for longer treks , lucky for us they have a fully padded and adjustable waste belt (sold separately ).
Also included is a three-part Aeriform camera strap. The neck portion of the strap is a lightweight, well-ventilated strap that was quite comfortable on the neck. I have attached my behind the scenes camera to. The other two portions of the strap are standard camera webbing on one end (to fit your camera body’s loops) and a quick clip at the other. The quick clips will link into the d-rings at either end of the neck strap for normal use, but they can also fasten into the webbing loops on either shoulder strap of the backpack itself. When fastened to the backpack, this takes the strain off your neck.
If you are a tripod user, you’ll be happy to know that the tripod sling (included) is designed to carry a full-sized tripod. The sling consists of two parts: a hanging pocket for the bottom of the tripod and a stabilizer strap for the top. The tripod can be carried in two places: On the side of the bag or on the back of the bag. If you prefer to have it hang off the back of the bag, you would fasten the pocket to the accessory loops at the bottom of the smaller camera chamber flap. The stabilizer strap would then be fastened into a loop inside the narrow pocket that houses the spine guard. A portion of the pocket will need to remain unzipped for this configuration.
Unfortunately, this configuration places the tripod in a place that makes it difficult to get to your camera. Alternatively, you can fasten the tripod pocket and stabilizer strap to the left side of the backpack. The accessory loops sit just between the two pockets on that side of the bag, and the stabilizer strap can be fastened to a built-in loop just above your shoulder, for smaller (narrower) tripods, you can even use the bottom accessory pocket instead of the tripod pocket. This location is, in my opinion, the ideal location for the tripod. It may make the bag slightly off-balance, but it puts the tripod higher on the bag and does not hinder your ability to get the camera in a hurry ,as a whole, the tripod pocket is a nice accessory regardless of where it’s placed, all over the bag are a number of different fastening points for a number of add-on accessories, but the included fastening points just goes to show how this bag can be expanded and combined with other products to fit ones needs.
WHATS IN MY BAG
This bag is huge and so I expected to be able to fit a lot. But because of the backpack’s unique shape and the way it is subdivided inside, I was able to accommodate more than I anticipated. Here’s a full list of “Whats In My Bag “:
- Hasselblad H4D 40
- 28 mm Lens w/ lens hood (mounted)
- 80mm 2.8 lens with lens hood
- 35 mm camera
- 50 1.4 mm prime lens
- Kenko Extension Tube
- 16-35 zoom
- 70-200 2.8 L
- Minolta Flash meter IV
- Lensbaby Composer ( with accessory’s )
- pinhole, double glass , single glass
- Full Sized Tripod ( Three legged thing )
- Mac Book Pro Laptop (15 inch )
- I pad
- Samsung NX 100 with pancake lens 30 1.2
- Samsung Flash
- Samsung i function lens 3.5-5.6
- Hoodman Loup 3.0
- Various cleaning supplies
- Various cables, battery’s and chargers .
- Sandisk Image Mate CF reader
- Think Tank – Pixel Pocket rocket with 14 Sandisk Extreme CF cards
- Black Rapid Strap RS-7
- Dilema Magazine
- Other supplies (business cards, pens, etc).
There’s no doubt that this is a big bag (you can see buy the amount of gear I travel with ). The truth is, a great number of you have absolutely no purpose for a bag this size, but for those of you who want to carry everything with you, this could be your ticket. I used to have to carry two bags ( backpack and hard case ) with all my gear, now it comfortably fits all in one. With that I hope you found my post helpful . I will just finish this post with a highlight of the best features from the Kata Pro – Bug 205 PL.
- Able to carry multiple cameras with some pretty large lenses mounted.
- Velcro-backed drawstring pockets for internal organization.
- Yellow interior makes it easy to find small (lost) items.
- Fit’s a true 17″ laptop ( but my 15 ” is a perfect fit .
- Well designed carrying tow strap.
- Zipper pulls design is unique and easy to use
- Tripod sling which can be attached to either the front or the side of the backpack.
- Double-sided Elements Cover for protection in all weather and environment conditions come rain or sunshine.
- Aeriform camera strap which is light, flexible and airy and can be used individually or interconnected to the two designated loops on the backpack harness thus providing frontal carrying for your camera by using your shoulders instead of having an additional strap around your neck.
- The Bug-205 PL enjoys an advanced ergonomics harness system which includes:
- Gecko Harness – inimitable molded EVA foam harness straps feature 3D tapered thickness so as to provide extra cushioning where it counts, micro hatch texture secures position firmly and comfortably and shapely contour fits your body organically.( takes some time for this to happen , but its like breaking in a pair of leather shoes )
- Soft molded 3D foam back for comfort, support and ventilation
- Stabilizing waist strap.
- 2 specially designed connection strap loops for the included Aeriform camera strap
- Ergonomic Photo System (EPH) – designated connection tabs to enable interconnections with other Kata products. ( I look forward to trying this out in more detail )
- Insertrolley connection for wheel along transportation, when this is in use the harness tucks out of the way and waist belt can be removed and stowed away (Insertrolley not included).
