This is going to be a fun post. Let’s jump right into it,
Photography comes from the Greek words phos (“light”), and graphis (“stylus”, “paintbrush”) or graphí, together they mean “drawing with light”. Light Painting Photography can be broken down into 3 general categories. The first is Light Drawing this is where the light source can be seen by the camera, during a long exposure the artist uses this light source to draw or create a design within the frame. The second category is Kinetic Light Painting, for this light painting technique the lights in the scene generally remain stationary while the camera itself is moved about during long exposure to create color and design within the frame. The third category is Light Painting, this is where the artist uses handheld light sources to selectively illuminate parts of a scene during a long exposure photograph. The history below identifies many of the pioneers of Light Painting Photography. If you know of someone who should be included on the list and is not, please send us an
What is Light Painting?
Light painting is a photographic technique where light is “painted” or “drawn” into the photograph using a handheld light source during a long exposure. Personally, I like a good flash light, but we will dive deeper into my favorite light painting tools.
It is used to describe an image created by ‘drawing’ or ‘painting’ with moving light and capturing it on camera, usually with a long exposure. Emphasising the link between photography and art the moving light is often called a ‘brush’.
As far back as the 1930s, Surrealist Man Ray was scribble-writing with light over a self-portrait, and the great American dance photographer Barbara Morgan produced some of the first abstract light painting photographs using black and white film.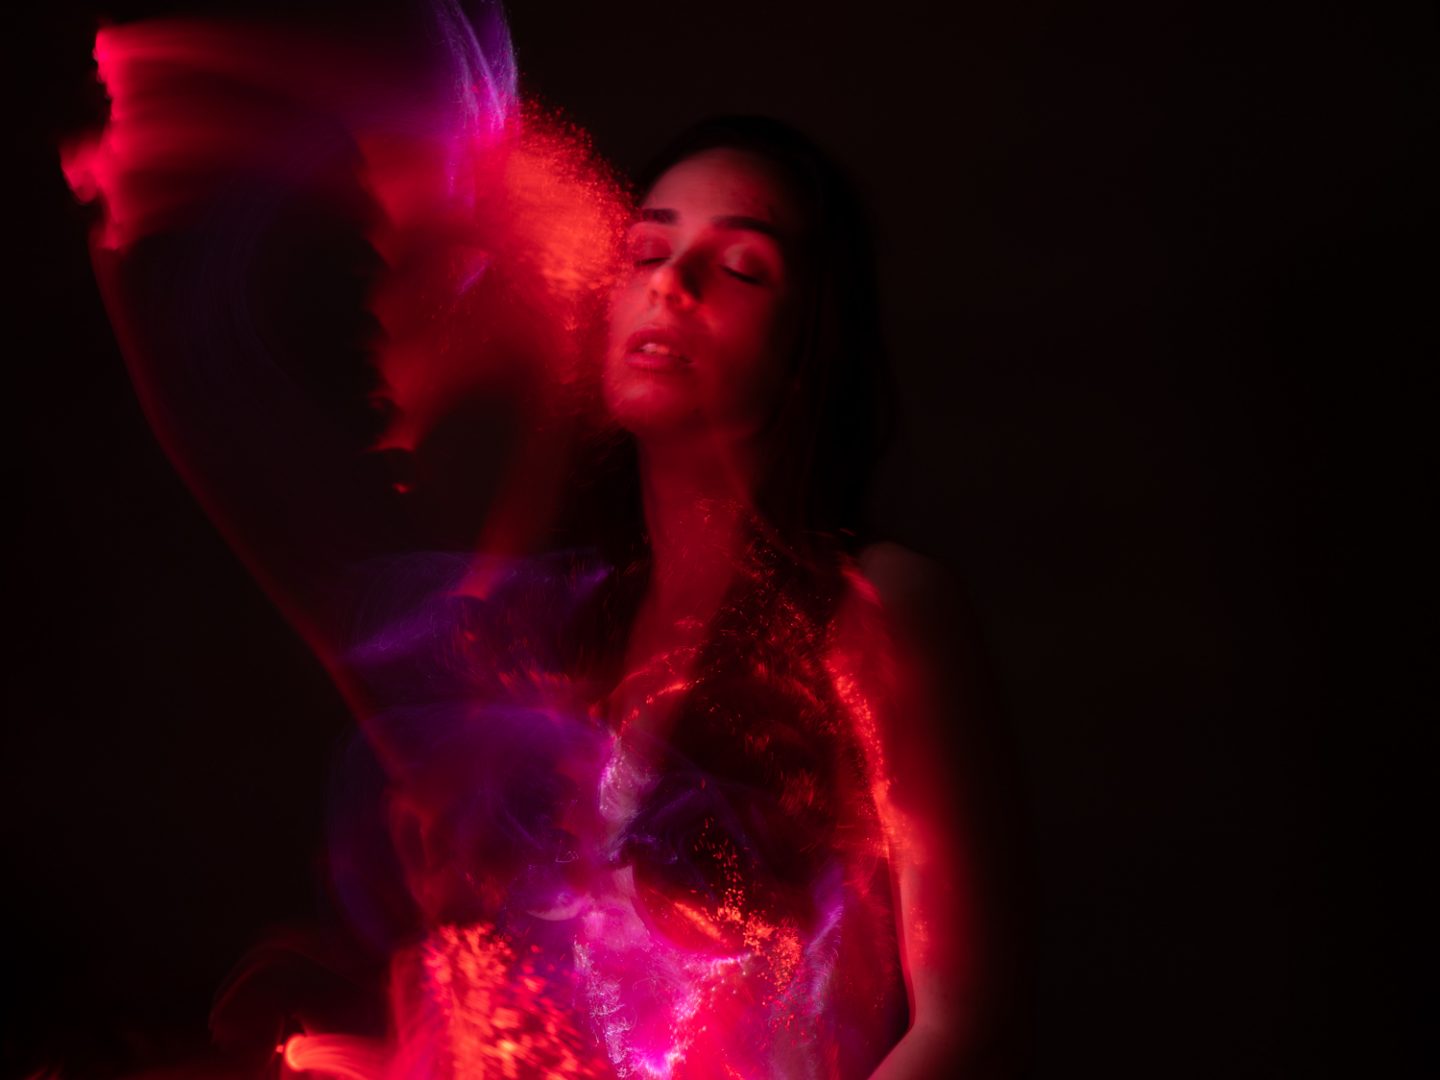
Man Ray: Light Painting Photography, 1935
The first artist to explore the technique of light painting was Man Ray. Man Ray was best known for his avant-garde photography. He worked in several different media, and thought of himself as a painter above all else. Man Ray’s contribution to light painting photography came in his series “Space Writing”. In 1935 Man Ray set up a camera to produce a self-portrait. He opened the shutter of his camera and used a small penlight to create a series of swirls and lines in the air. Random circles and swirls are all these photographs were thought to be until in 2009, a photographer by the name of Ellen Carey, held a mirror up to the work and discovered the seemingly random light drawing was actually Man Ray’s signature.
|
Space Writing |
 |

We should remember that the word ‘photography’ means ‘drawing’ (graphe) with ‘light’ (photo). From the 1940s onwards, even Pablo Picasso experimented with an electric light pen – see Gjon Mili’s renowned photographs of Picasso’s light painting.
Henri Matisse: Light Painting Photography 1949

This is the only known image of Henri Matisse creating a light painting, Like Picasso, Henri Matisse was also introduced to the light drawing art form by Gjon Mili.
Moving a light in front of a camera is only the start – try moving the camera or have the subject move – and there are so many light sources you can use for light painting photographs. From sparklers, LED strings or headlights to purpose-made ‘light sticks’.
Gjon Mili: Light Painting Photography, 1930-1940’s
Next on the list of light painters is Gjon Mili. Gjon Mili was born in Albania and came to the United States in 1923. Gjon was trained as an engineer and was a self-taught photographer. In the mid 1930’s Mili, working with Harold Eugene Edgerton from Massachusetts Institute of Technology (MIT), pioneered photoflash photography. Gjon used stroboscopic light to capture the motion of everything from dancers to jugglers in a single exposure. His photoflash techniques are still very much used today in light painting photography. Mili used this technique to study the motion of dancers, musicians, and figure skaters.
|
Nude Descending Staircase |
FBI Agent Del Bryce |


Mili’s creation of photoflash photography work was just his first gift to the light painting world. In the 1940’s Gjon attached small lights to the boots of ice skaters he then opened the shutter of his camera and created what would be the inspiration for some of the most famous light painting images ever created.
|
Figure Skater Carol Lynne |
Figure Skater Carol Lynne |


In 1949, while on assignment for Life Magazine, Gjon Mili was sent to photograph Pablo Picasso at his home in the South of France. While there Mili showed Picasso some of his light painting photographs of the figure skaters. Pablo was immediately inspired, Picasso took a penlight and began to draw in the air. Mili set up his camera and captured the images. This brief meeting yielded what would become known as Pablo Picasso’s Light Drawings. Of all of these Drawing the most famous is known as “Picasso Draws a Centaur”.
|
|


- Practically anything that emits or modifies light can be considered a light painting photography tool and can be used to create a photograph, the following list are just some of the more common tools. …
- Cable Release. …
- Camera. …
- Digital Light Wand. …
- The PixelStick. …
- El Wire. …
- Fireworks. …
- Flashlights and Torches.
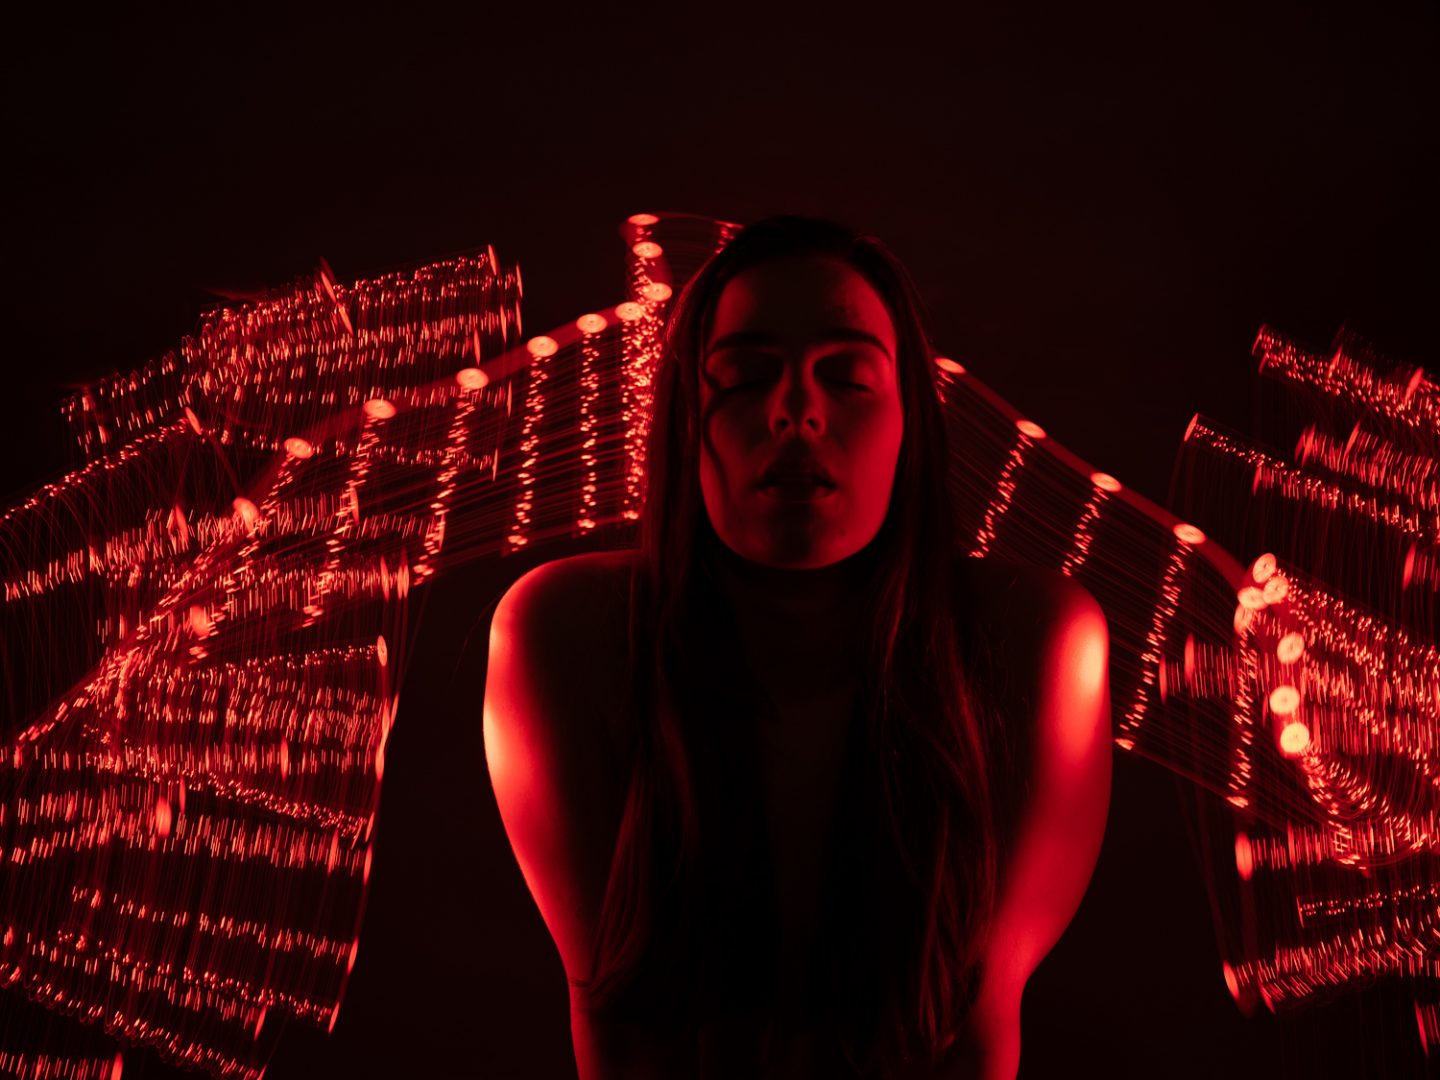
- Light painting with on-camera light source
This technique is achieved using a tripod. You keep your camera in a fixed position, then move your lighting source so it can be seen on camera.
By shooting a long exposure, you will see the effects of the light source moving. You can use sparklers, a torch or glow sticks which can be bought quite cheaply. On the more expensive end of the spectrum is specialist light painting LED light sticks.
This ‘on camera’ light painting technique will create a smoother image than the Kinetic technique. Swirling, spiralling lines of light being favourites. It also allows you to introduce other elements into your images, such as people or buildings.
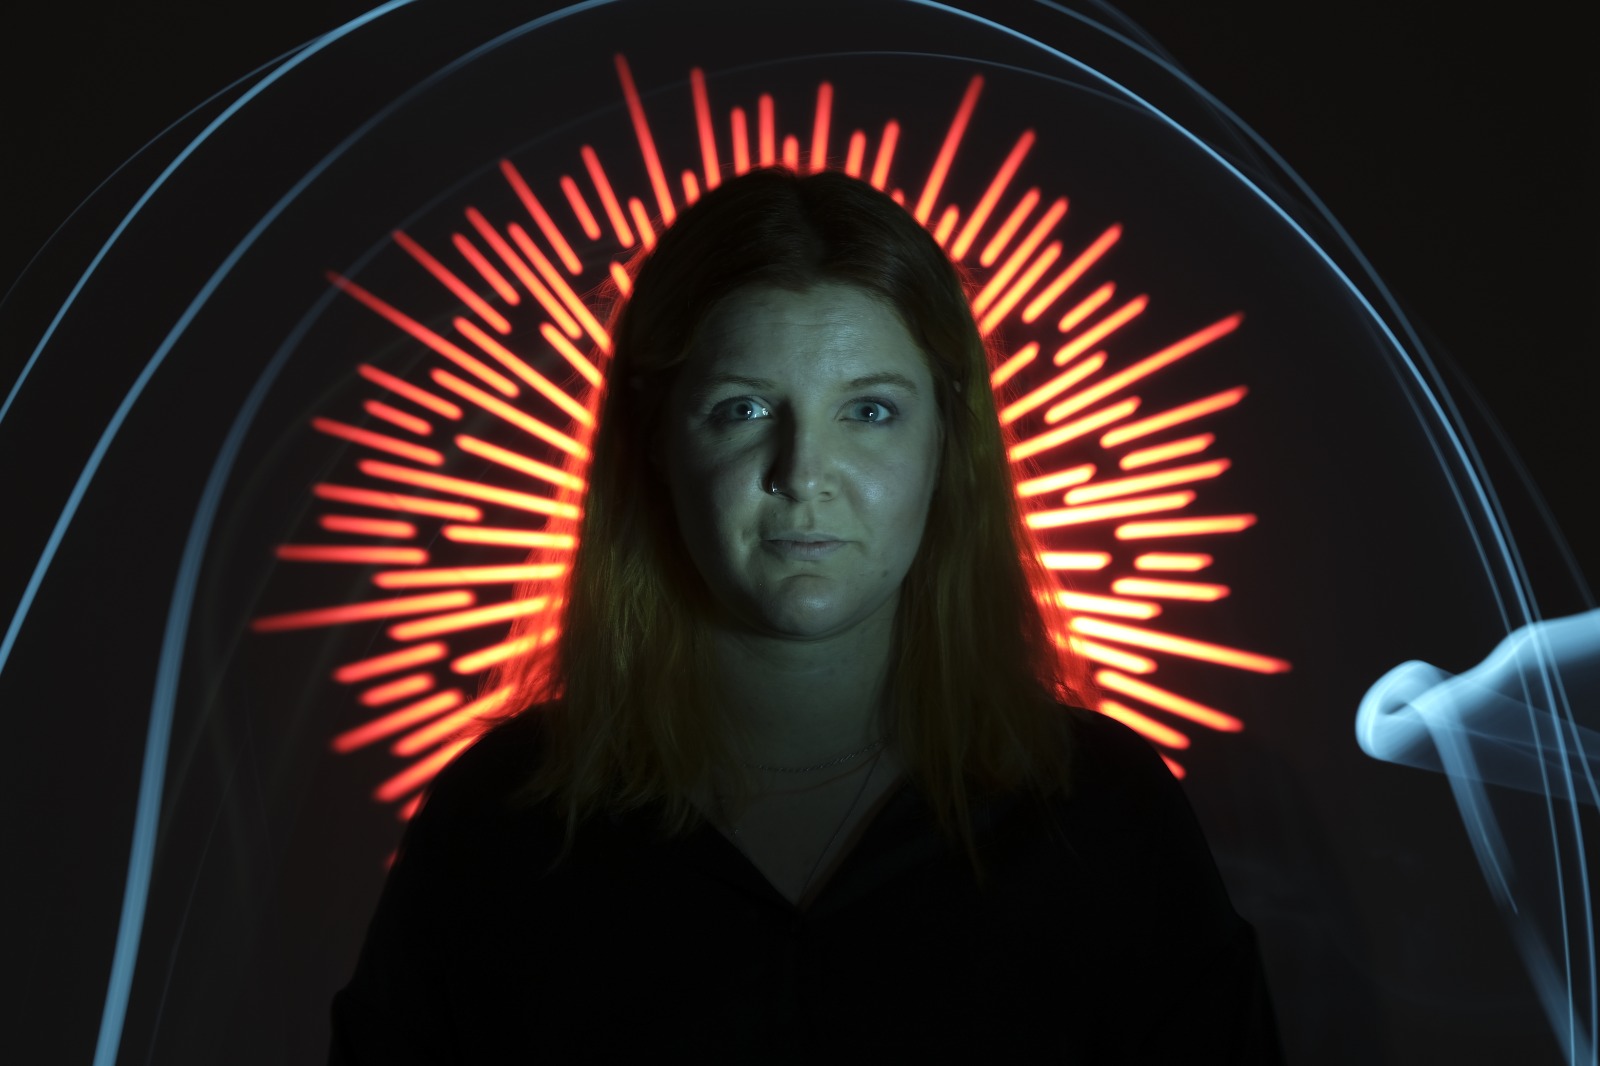
- Light painting with the light source off camera

As above, this technique uses a tripod. However, rather than showing the light source directly by showing it’s movements, this technique is all about showing the light created but not the source.
This is less about lines of light and more about lighting up areas of an otherwise dark scene.
To achieve this effect, you would project light into the scene you are photographing – but you would not directly see the source of the light in the image, only the light it produces. Weaving light in and out of trees for instance.
- Light painting with projections

This was extremely popular in the art world in the 1960s using slide projectors. The technique is often used today in advertising, art, and performance using a data projector.
Images or words in a range of colors can be projected onto still or moving surfaces.
Messages are often projected onto buildings and walls like virtual graffiti. A favorite subject for light painting is projecting images, writing, or strong patterns onto a face, hands, body, or dancer.
Projections can enhance the subject, bring out the patterns and structure of a building or create an interesting contrast – water or clouds on a building or on a body like my shoot for Holas Beachwear


Dial in Your Camera Settings
Getting your camera settings right is essential for light painting and long exposures are an absolute must. Below we explain some typical camera settings including shutter speed and focusing. These should help get you started with light paint photography.
- Format – set to RAW to enable you to have as much control over the image in terms of detail retention in the edit. It will also give you the best quality image.
- Mode – select manual mode on your camera. It’s really important that you have complete control over your exposure time.
- Aperture – this really depends on what you’re shooting and what you want to achieve. Against a dark background making patterns with sparklers or a small torch will probably work well with a high aperture and the subject in the mid-distance. However if you want to show more of the scene, shoot with a shallower aperture. We recommend starting at F5.6 – as it should enable you to get sharp images and account for different plains and depth in your image – and then experiment from there.
- Shutter – start your shutter speed at 30 seconds and adjust from there to find your base exposures. You may need far less – or longer, in bulb setting mode. It all depends on what you are shooting – if you’re including a person in your image, a 30 seconds shutter speed can be a very long time to ask them to stand still. Remember to use a remote shutter release, or use your camera’s in-built timer which you can trigger with your shutter button to avoid any movement.
- ISO – keep the ISO as low as possible to reduce noise when shooting long exposures at low light, so start at ISO 100.
- Focusing – ensure you are in manual focus mode, and use your lens’ focus ring to make minor adjustments. If you have a mirrorless camera, you can experiement with focus peaking too. (By avoiding auto focus, your camera won’t try to refocus when you come to take your shot.)
Wear Dark and Non-reflective Clothing
If you’re going to be the one moving within the camera frame, make sure you wear dark clothes and make sure you keep moving.
If you are more cautious with your movements and you wear bright clothes, you may show up in your image, seemingly as a ghostly presence. This is of course something you will want to avoid.

Don’t Point Your Light Source Directly at the Camera
When light painting, try not to point your light source directly at your camera – this may leave you with a bright white ‘blob’ in your image. That’s not what you’re trying to accomplish!
If you’re using strong flashlights, keep them away from your eyes, since you’ll ruin your night vision, or at least, delay your eyes from getting used to the low light in the scene.
Use Multiple Light Sources for a Varied Effect
- Paint from the sides – Don’t just stand behind your camera and wave the light across your image. Painting flat surfaces from the side will allow you to bring out textures.
- Use lots of different angles – For instance, when painting the ground, hold the beam low and pan the light along the floor. This will keep the ground from appearing flat, and it’ll bring out all the details of the surface. Also, by adding light from many angles, the resulting image will have an interesting three-dimensional effect.
- Don’t stand between the camera and your light source – If you do this, you will show up as a silhouetted ghost in the final photo!
- Wear dark, non-reflective clothing and keep moving – Again, you do not want to appear as a ghost in your image!
- Don’t shine the light source back at the camera – Otherwise, you’ll create a bright spot in the image.
- Use a flashlight with a red filter when you check your camera to make adjustments. The red light will keep you from ruining your night vision.
- Different surfaces are going to react to light differently – Wood surfaces may require more light than shiny surfaces such as metal or glass, because rougher surfaces absorb more light than smooth surfaces.
- Keep your light moving – Move the beam in slow strokes to add lots of light and make faster strokes in areas where less light is needed.
- Paint in up-and-down or side-to-side strokes, just like you’d work with real paint.
- You probably won’t get the shot you want on the first try – It may take multiple attempts to get an image that you’re satisfied with. For this reason, try to keep track of how much light you add to each surface. Develop a plan so that you can make adjustments to each exposure until you get the image you’ve visualised.
-


Finally , I have partnered up with the folks over at Light Painting Paradise to offer 10% discount to anyone who uses the promo code : joaolightpainting
