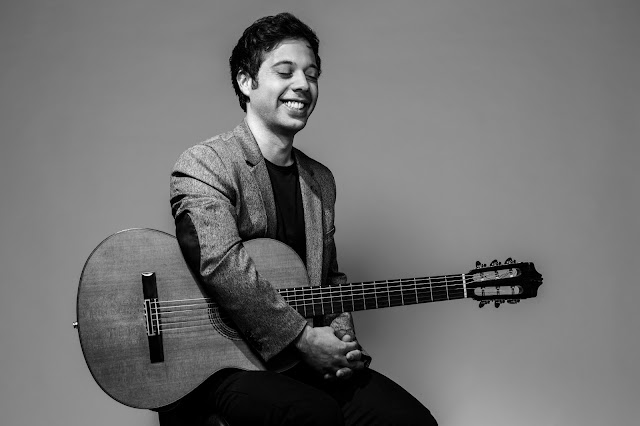
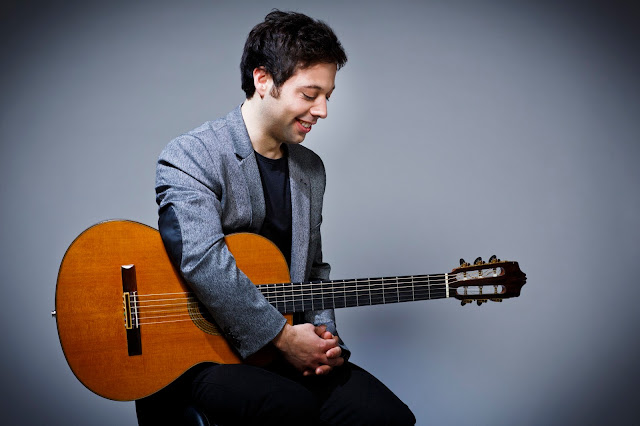
My last post showcased an awesome shoot with Portuguese Fado Singer Marco Oliveira. What I forgot to mention what that this shoot had two parts: one was location based, where we shot on the streets of Bairro Alto, the trendy historic district of Lisbon and the first part of the shoot was in the studio. Marco needed images for a number of different situations — images from our shoots were used in the album art work, facebook and website pages. A number of images were also used to announce future singing venues.
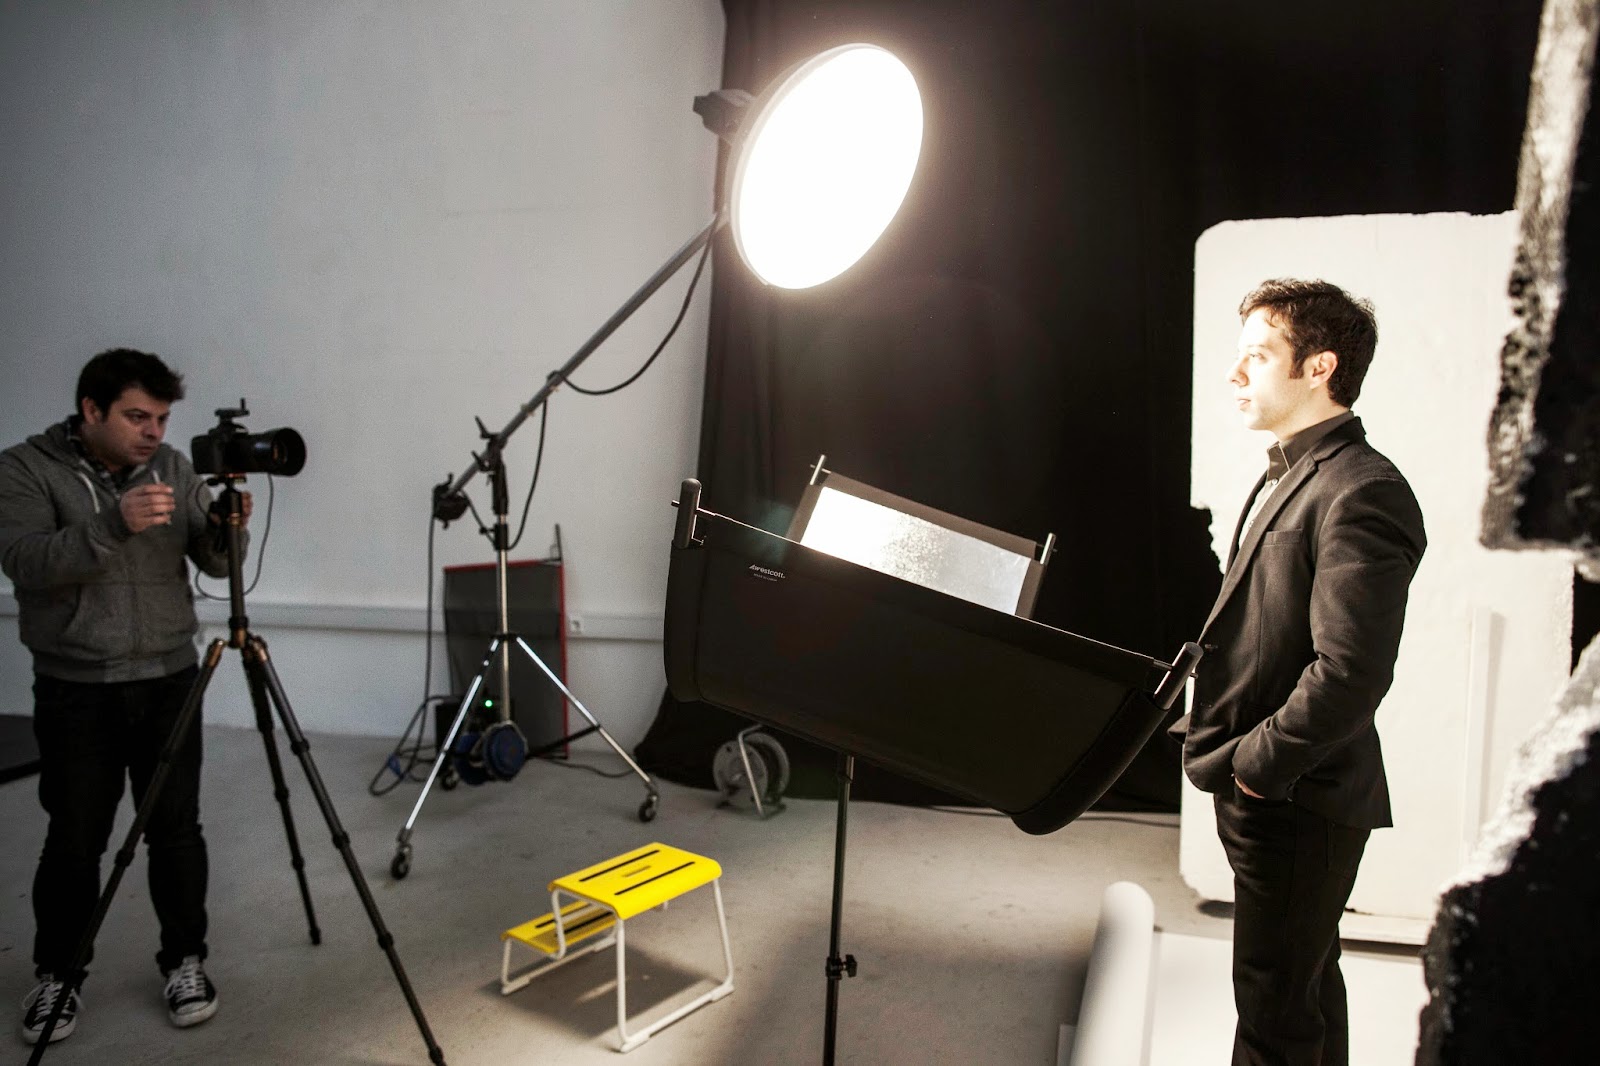
The idea was to have an image that was natural, not overly posed and the lighting should be contemporary. So for this set I decided to use a beauty dish. A beauty dish is a photographic lighting device that uses a parabolic reflector to distribute light towards a focal point. The light created is between that of a direct flash and a softbox, giving the image a wrapped, contrasted look, which adds a more dramatic effect.
There are two main differences between a beauty dish and a normal reflector. First, beauty dishes are inevitably larger than normal reflectors. For example, in one equipment line, reflectors range from 7 to 16 inch diameter, while the beauty light is 22 inches in diameter. From another manufacturer, their normal reflectors range from 7 to 13 inch diameter, with an approximate 21 inch diameter beauty dish.
Second, virtually every beauty dish has an opaque cover directly over the front of the light source in the center of the beauty dish, preventing direct light from hitting the subject. Thus, all the light that emanates from the beauty dish has bounced off the interior wall of the beauty dish, resulting in softer light than obtainable from a standard reflector.
It’s a modern but still classic light. Perfect for a clean but also edgy image.
I also used two pieces of styrofoam V boards. This helps modelling the light just the way I want it. And last but not least, for the perfect lighting set up I can’t forget my Westcott Eyelighter.
 |
| I almost always shoot with @3leggedthing tripod and camera trigger; by shooting with the camera on a tripod, I have consistent framing and lighting. If the camera is not moving all over the place, the images should be more organised and this should make the selection process much easier. Another reason I shoot with tripod is because this way I can connect much better with my subject, without having a big bulky camera in the way of the personal connection. |
 |
| Shot directly in camera, you can see almost zero editing has been done. I try and get the shot in camera as much as possible. |
 |
| Make up is super important in any shoot; in this case it will make my editing process much easier. |
 |
| Make Up artist Sara Kruss from MakeUover make up doing her make up magic. |
Here you can see both my light sources — the beauty dish is my main light and I used the snoot to focus some additional light on my subject’s face.
It’s always great to see finished printed results, like the CS and booklet below (sorry for the crappy pics, I took them with my iPhone). Read about how I created the Cover Image on location in the streets of Lisbon,
TEAM
Photography:
Make up:
Assistant:
- Bárbara Gomes
GEAR LIST
Canon EOS 5D Mk III
Canon EF 50mm f/1.2 L USM
Canon EF 85mm f/1.2 L II USM
Canon EF 100mm f/2.8 L Macro IS USM
SanDisk Extreme PRO CF Memory Cards
Broncolor pack and lights
Broncolor Beauty Dish
Broncolor Conical Snoot
3 Legged Thing Evolution 3 Brian Carbon Fiber Tripod
0 likes


