
Inviting guest bloggers to come in and share their words of wisdom has been in the works for a while now, and I figured it would only be appropriate to invite my Retoucher extraordinaire Gina Hernandez. So, I will hand over to G, and let me just say thank you Gina and I look forward to your next post.
Joao Carlos
I was commissioned by Joao to do the post-production of these images for his interview for Miami Plum TV.
Jennifer Santiago is an Emmy-award winning Journalist and Travel Writer, and currently is the host/producer of Plum Daily on Plum TV – a half-hour news and entertainment program that explores the best in art, fashion, travel and more in Miami. You can watch Plum Daily on Channel 5 in Miami or on-line at www.plumtv.com/miami.
His vision was to make a geisha-goddess style with the shots of Jennifer Santiago.
Goddess of Peace Case Study by Gina Hernandez
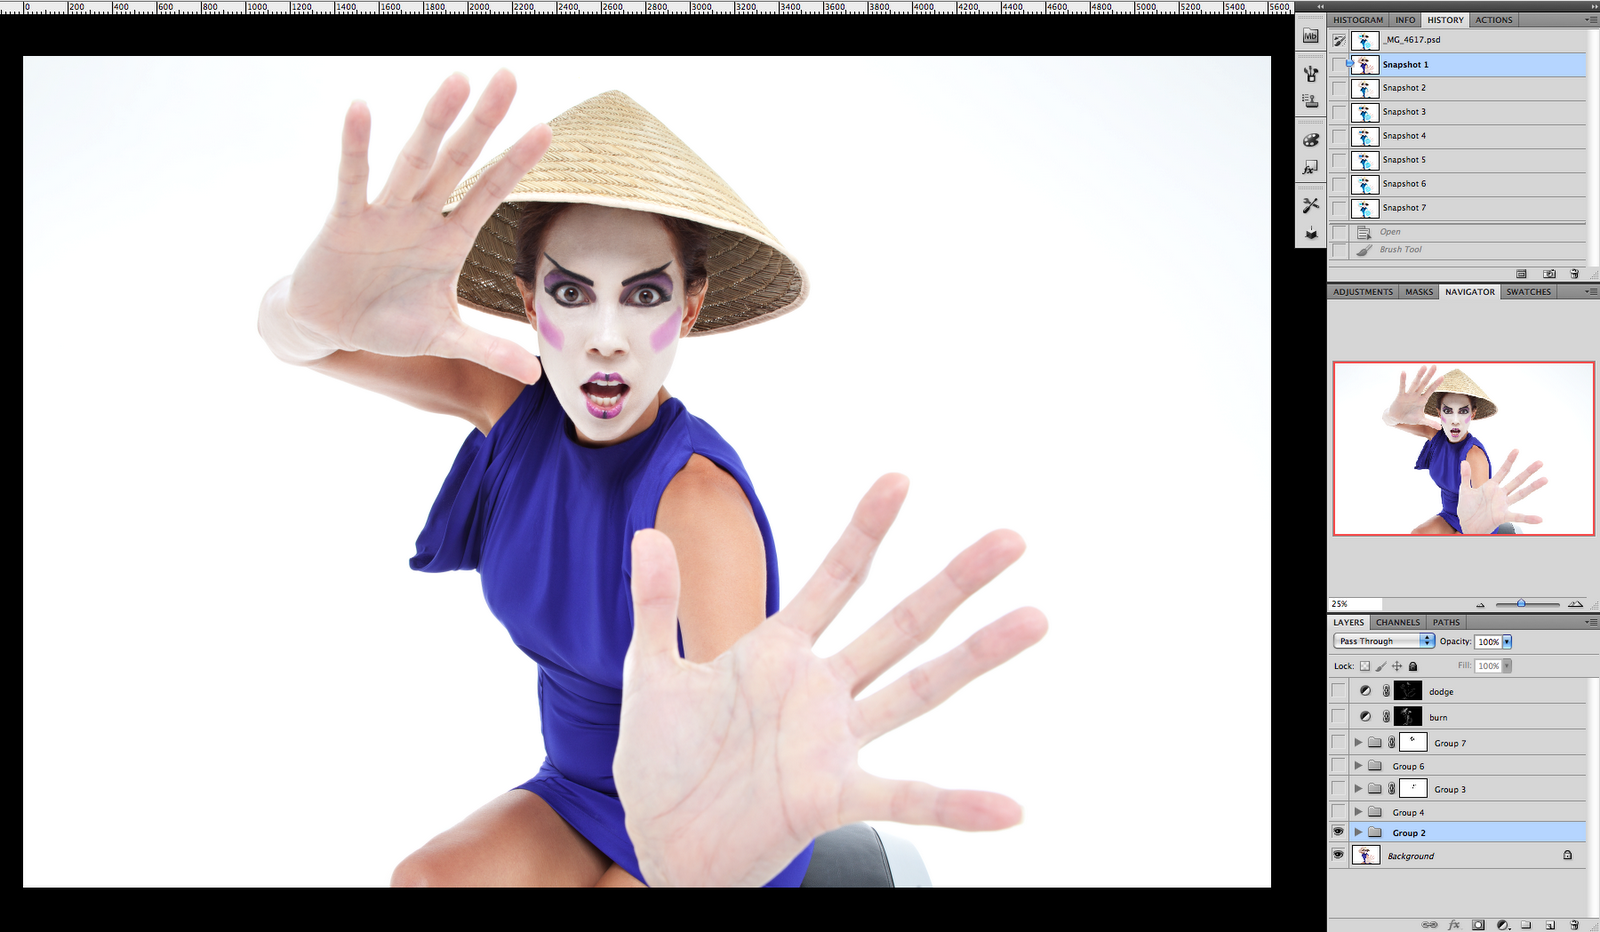
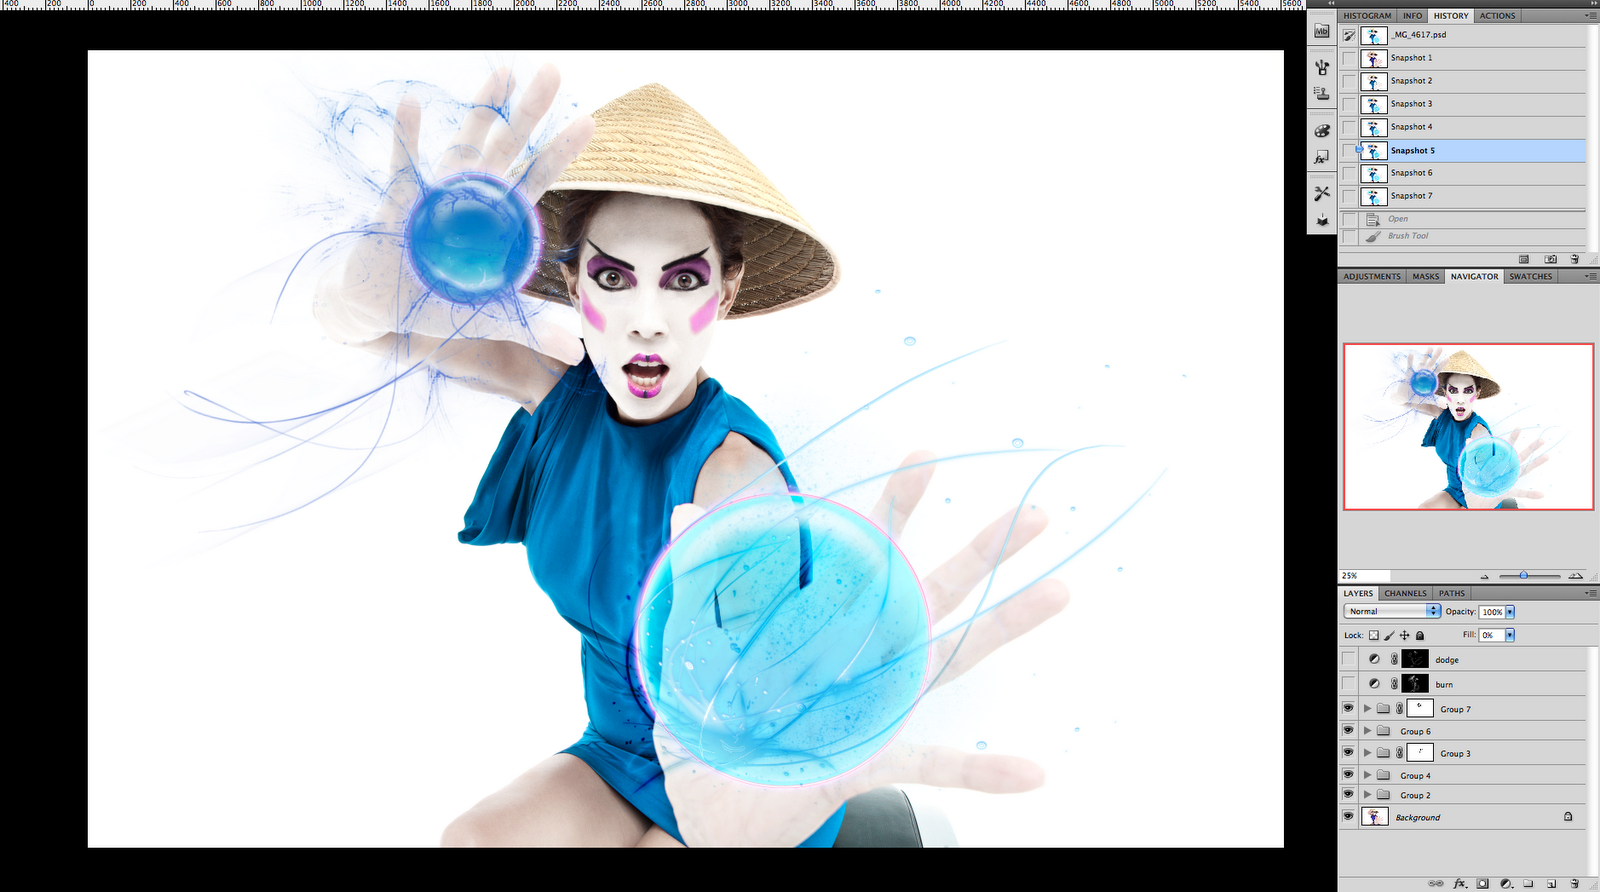
Step 1
The idea was to create a modern goddess of peace, and the first step was cleaning the image and make basic color correction to it.
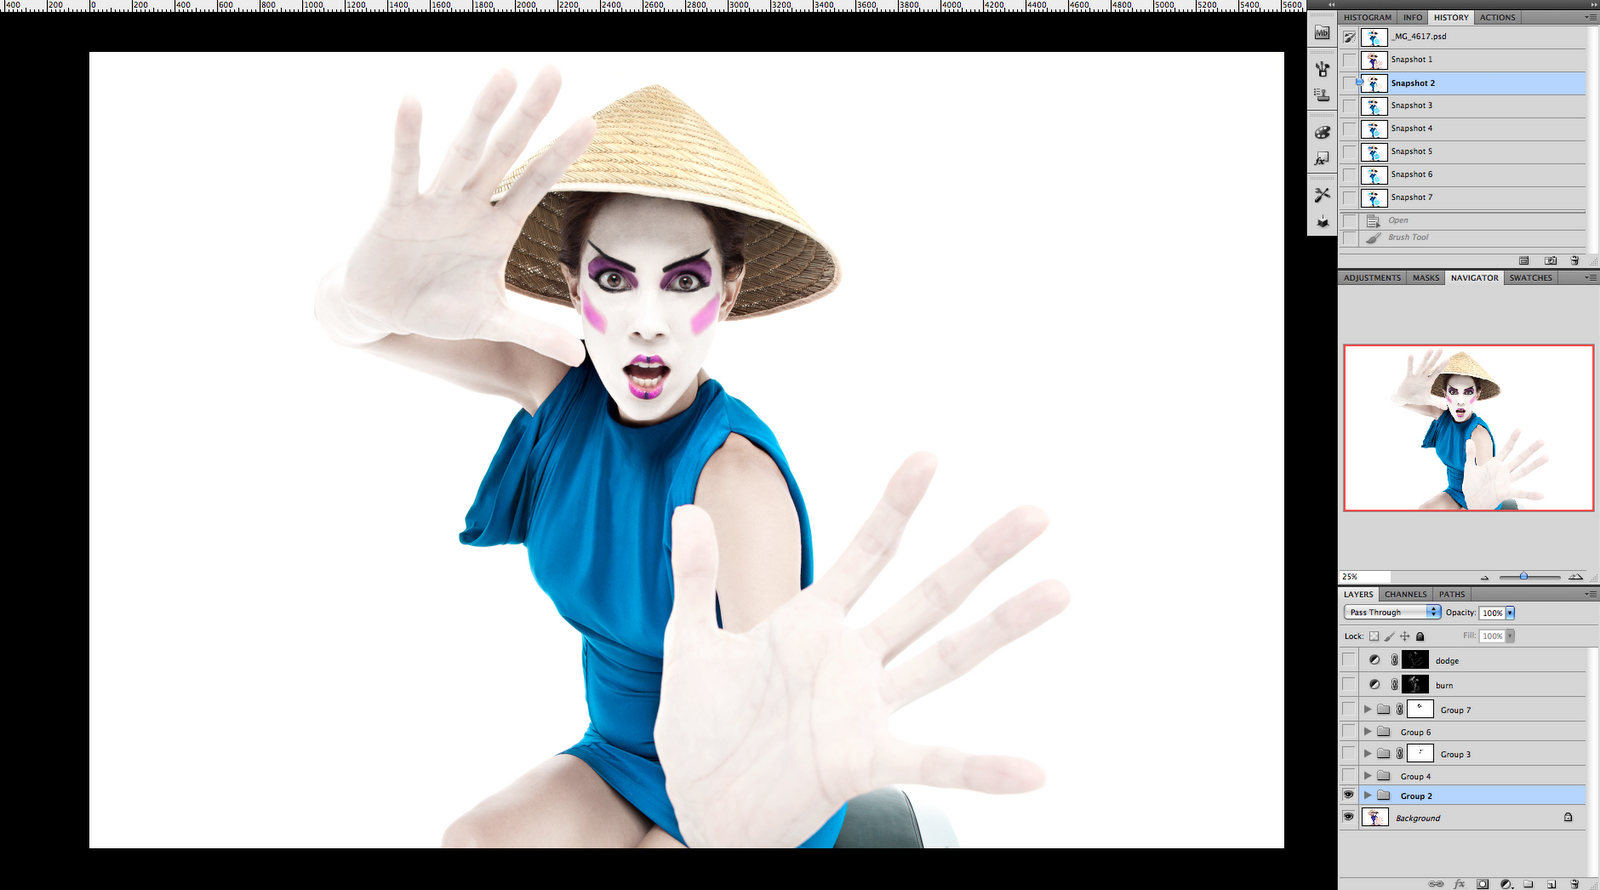
Step 2
We chose water as the element to represent peace and decided we would use fire to represent war in another image.
So I started changing her dress to a light blue tone using Hue/Saturation and changing the Cyans and Blues to get the tones that I wanted. For her make up I added another hue/saturation layer and to enhance the vibrancy, I used the magenta tones.
I also wanted to make her skin whiter. For this, I desaturated the skin a bit and then added a solid white color layer using Screen as Blend mode and adjusted the opacity. Then I grouped these two layers and made a mask to detail the eyebrows and lips.
It is very important to add a curves layer to enhance the shadows after using this process, if not our image will look flat. In the curve layers, bring down the mid tones, fill the mask with black and paint with a white brush the shadows.
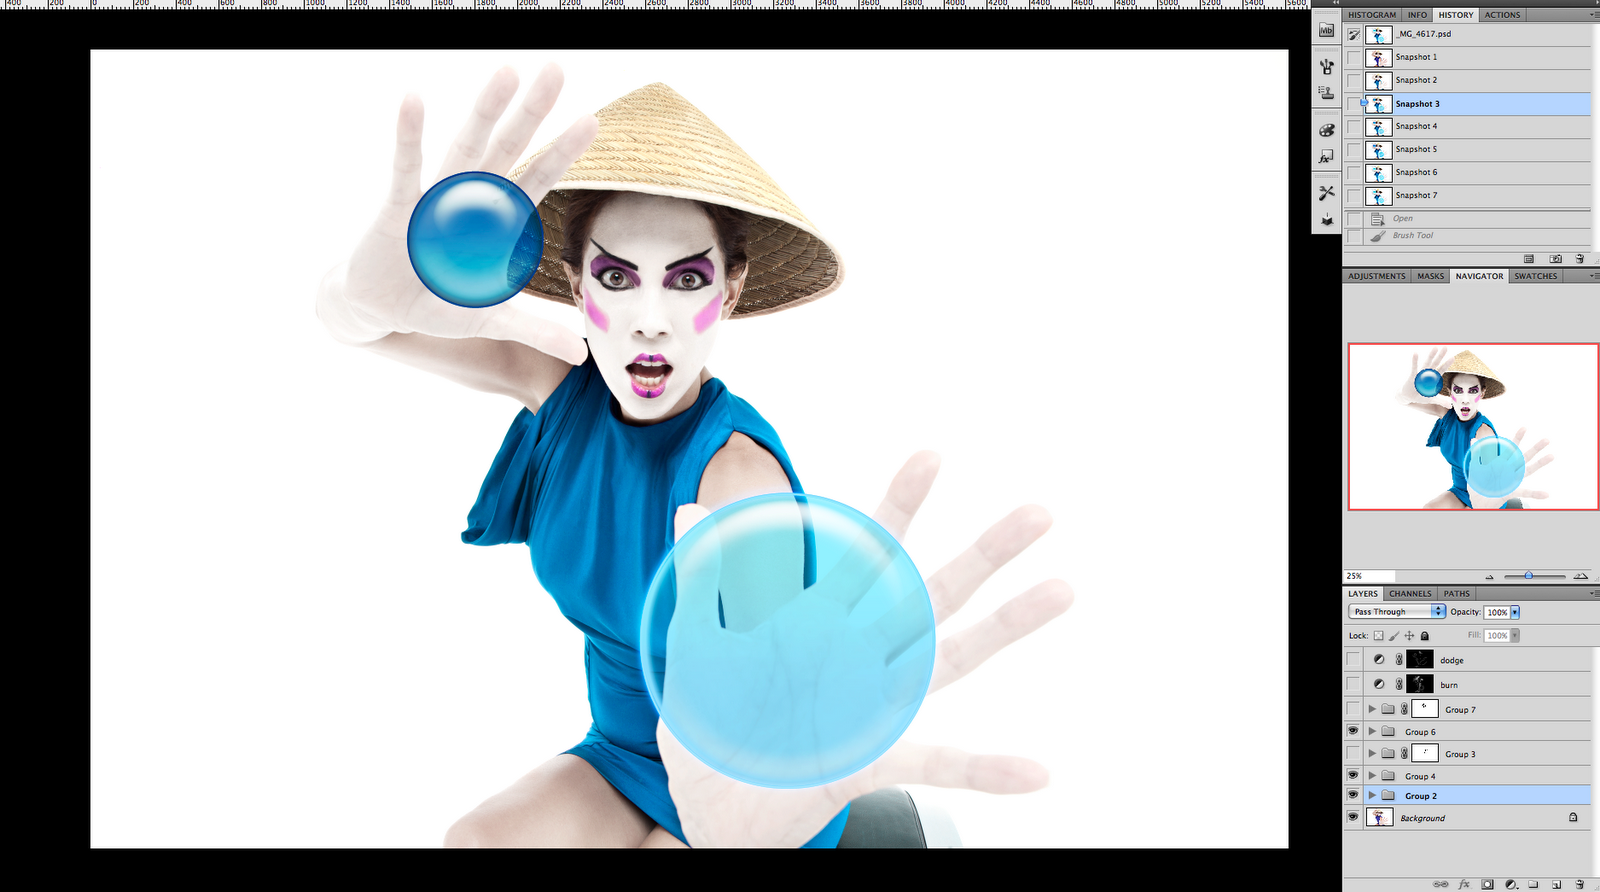
Step 3
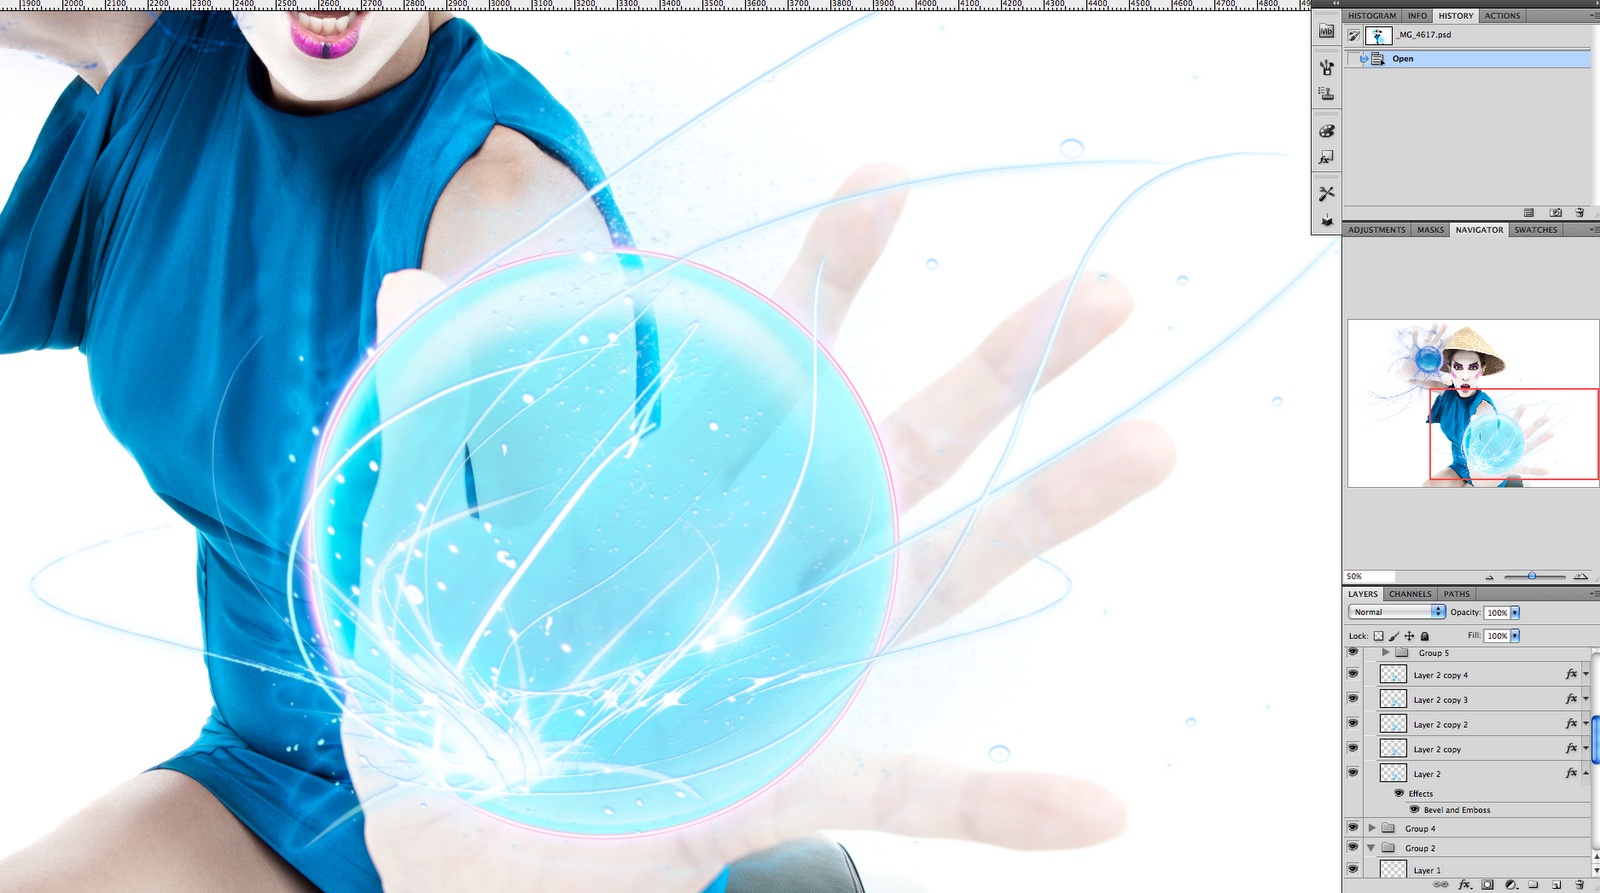
With the ellipse tool I created two blue circles in her hands, each circle in a separate layer.
In the Layer Style box I changed the Fill Opacity to 35 and I used Inner glow, Bevel and Emboss, Satin, Color Overlay and Gradient Overlay to create the effect of a sphere.
I repeated the same process with the second circle. The settings are not always the same, it depends on the size and color that you have chosen.
Even if you have some styles saved you need to adjust the settings to end up with the effect you are looking for.
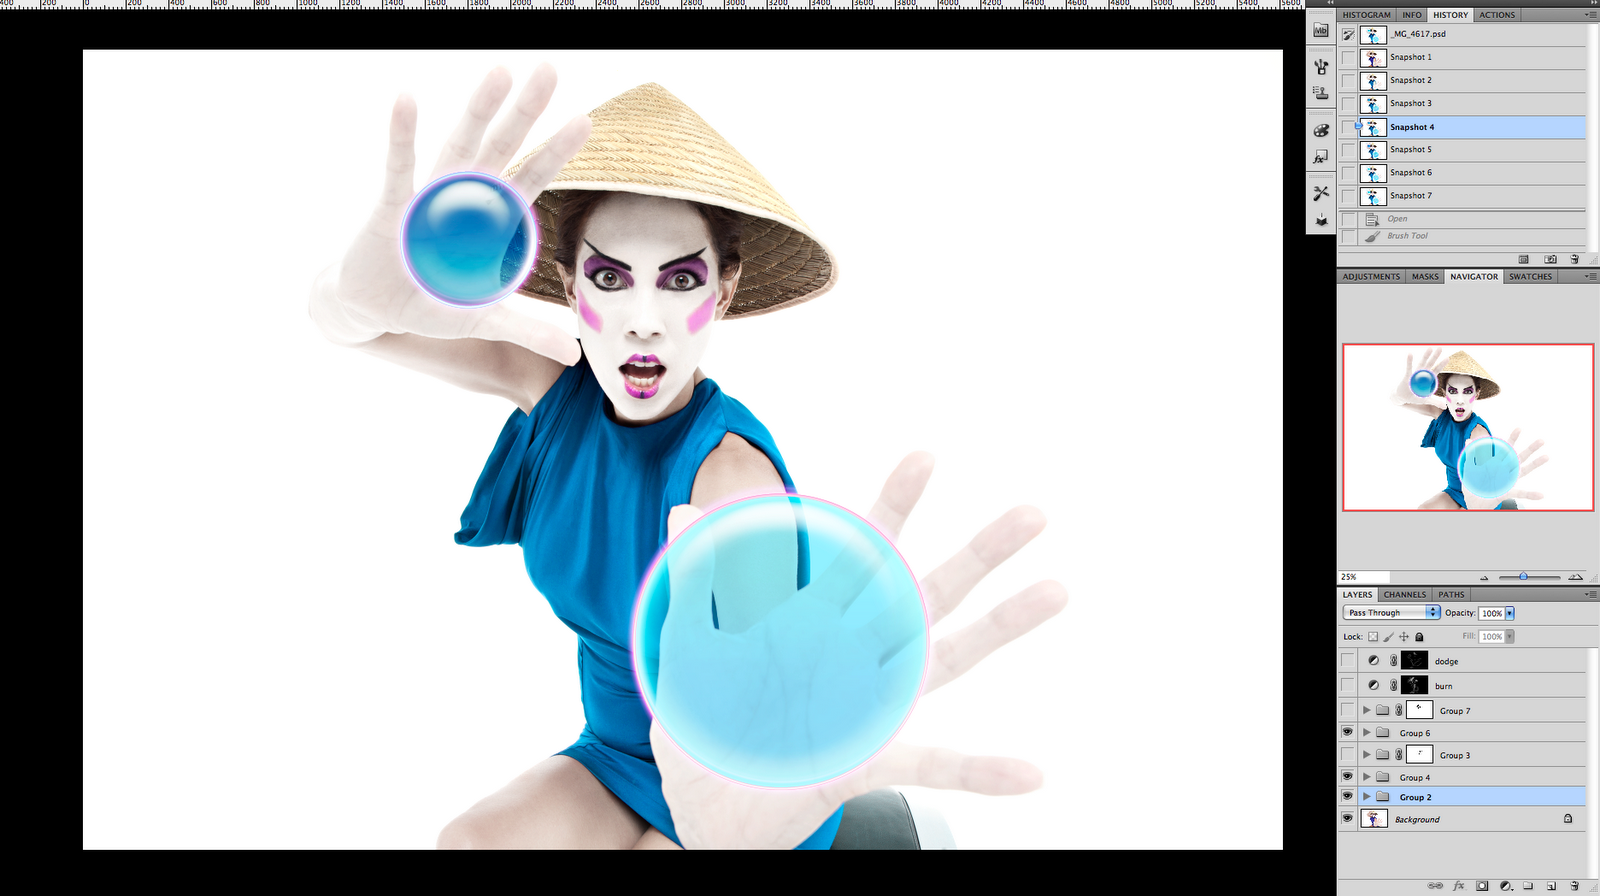
Step 4
I duplicate the circles and change the settings in the Layer Style box.
I wanted to create a halo around the spheres, so for this I changed the Fill Opacity to O%.
In the Layer Style I use a Light Inner shadow, Outer glow, Inner glow, Bevel and Emboss and Stroke.
For the Stroke I changed Fill type to Gradient and created a sphere using Pink and White colors.
Again I repeated the same steps for my second sphere but this time the Gradient I create for the stroke was purple and white.
Step 5
We wanted to create the feel of energy emitting of her hands, so for this I added a new layer and chose a fractal brush that would give the sensation of covering the sphere.
Set the Fill Opacity to 0%. In the Layer Style box I added Inner shadow, Inner glow, Bevel and Emboss, Satin and Color Overlay. All this using dark blue tones.
For the second sphere I added another New Layer and repeat the same steps with different settings in the Layer Style options and with darker blue tones.
Step 6
To make these figures glow, duplicate both layers. But this time In the Layer Style box I selected Overlay for Blend Mode.
Inner Shadow: White color and overlay mode.
Inner Glow: White color and Screen Mode
And Satin: White color and Screen Mode.
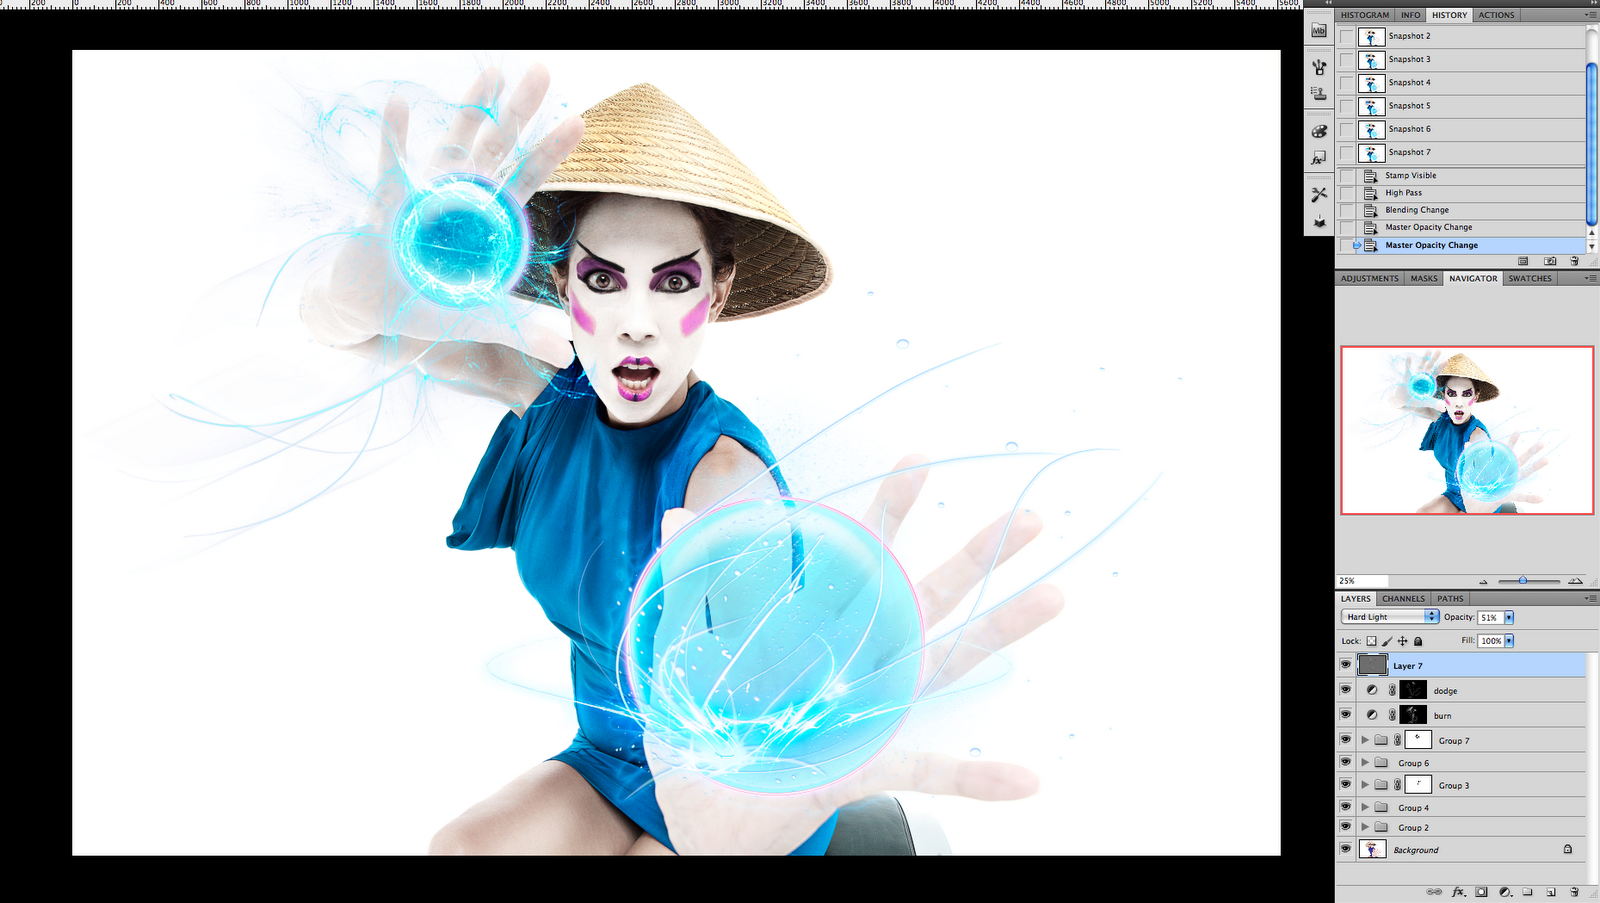
Step 7
The last part was done to enhance the shadows and highlights of the overall image.
I did it using the Dodge and Burn Technique.
Create a Curves Layer for the Shadows and drag down the mid-tones a bit. Fill the layer mask with Black and with a soft brush and low opacity, start painting with a white brush the shadow areas that need to be enhanced.
For the Lights Curve Layer it is the same steps but this time we drag up our mid-tones.

Final Image:
Here’s more of Gina’s work on her website: http://www.ginahdez.com/